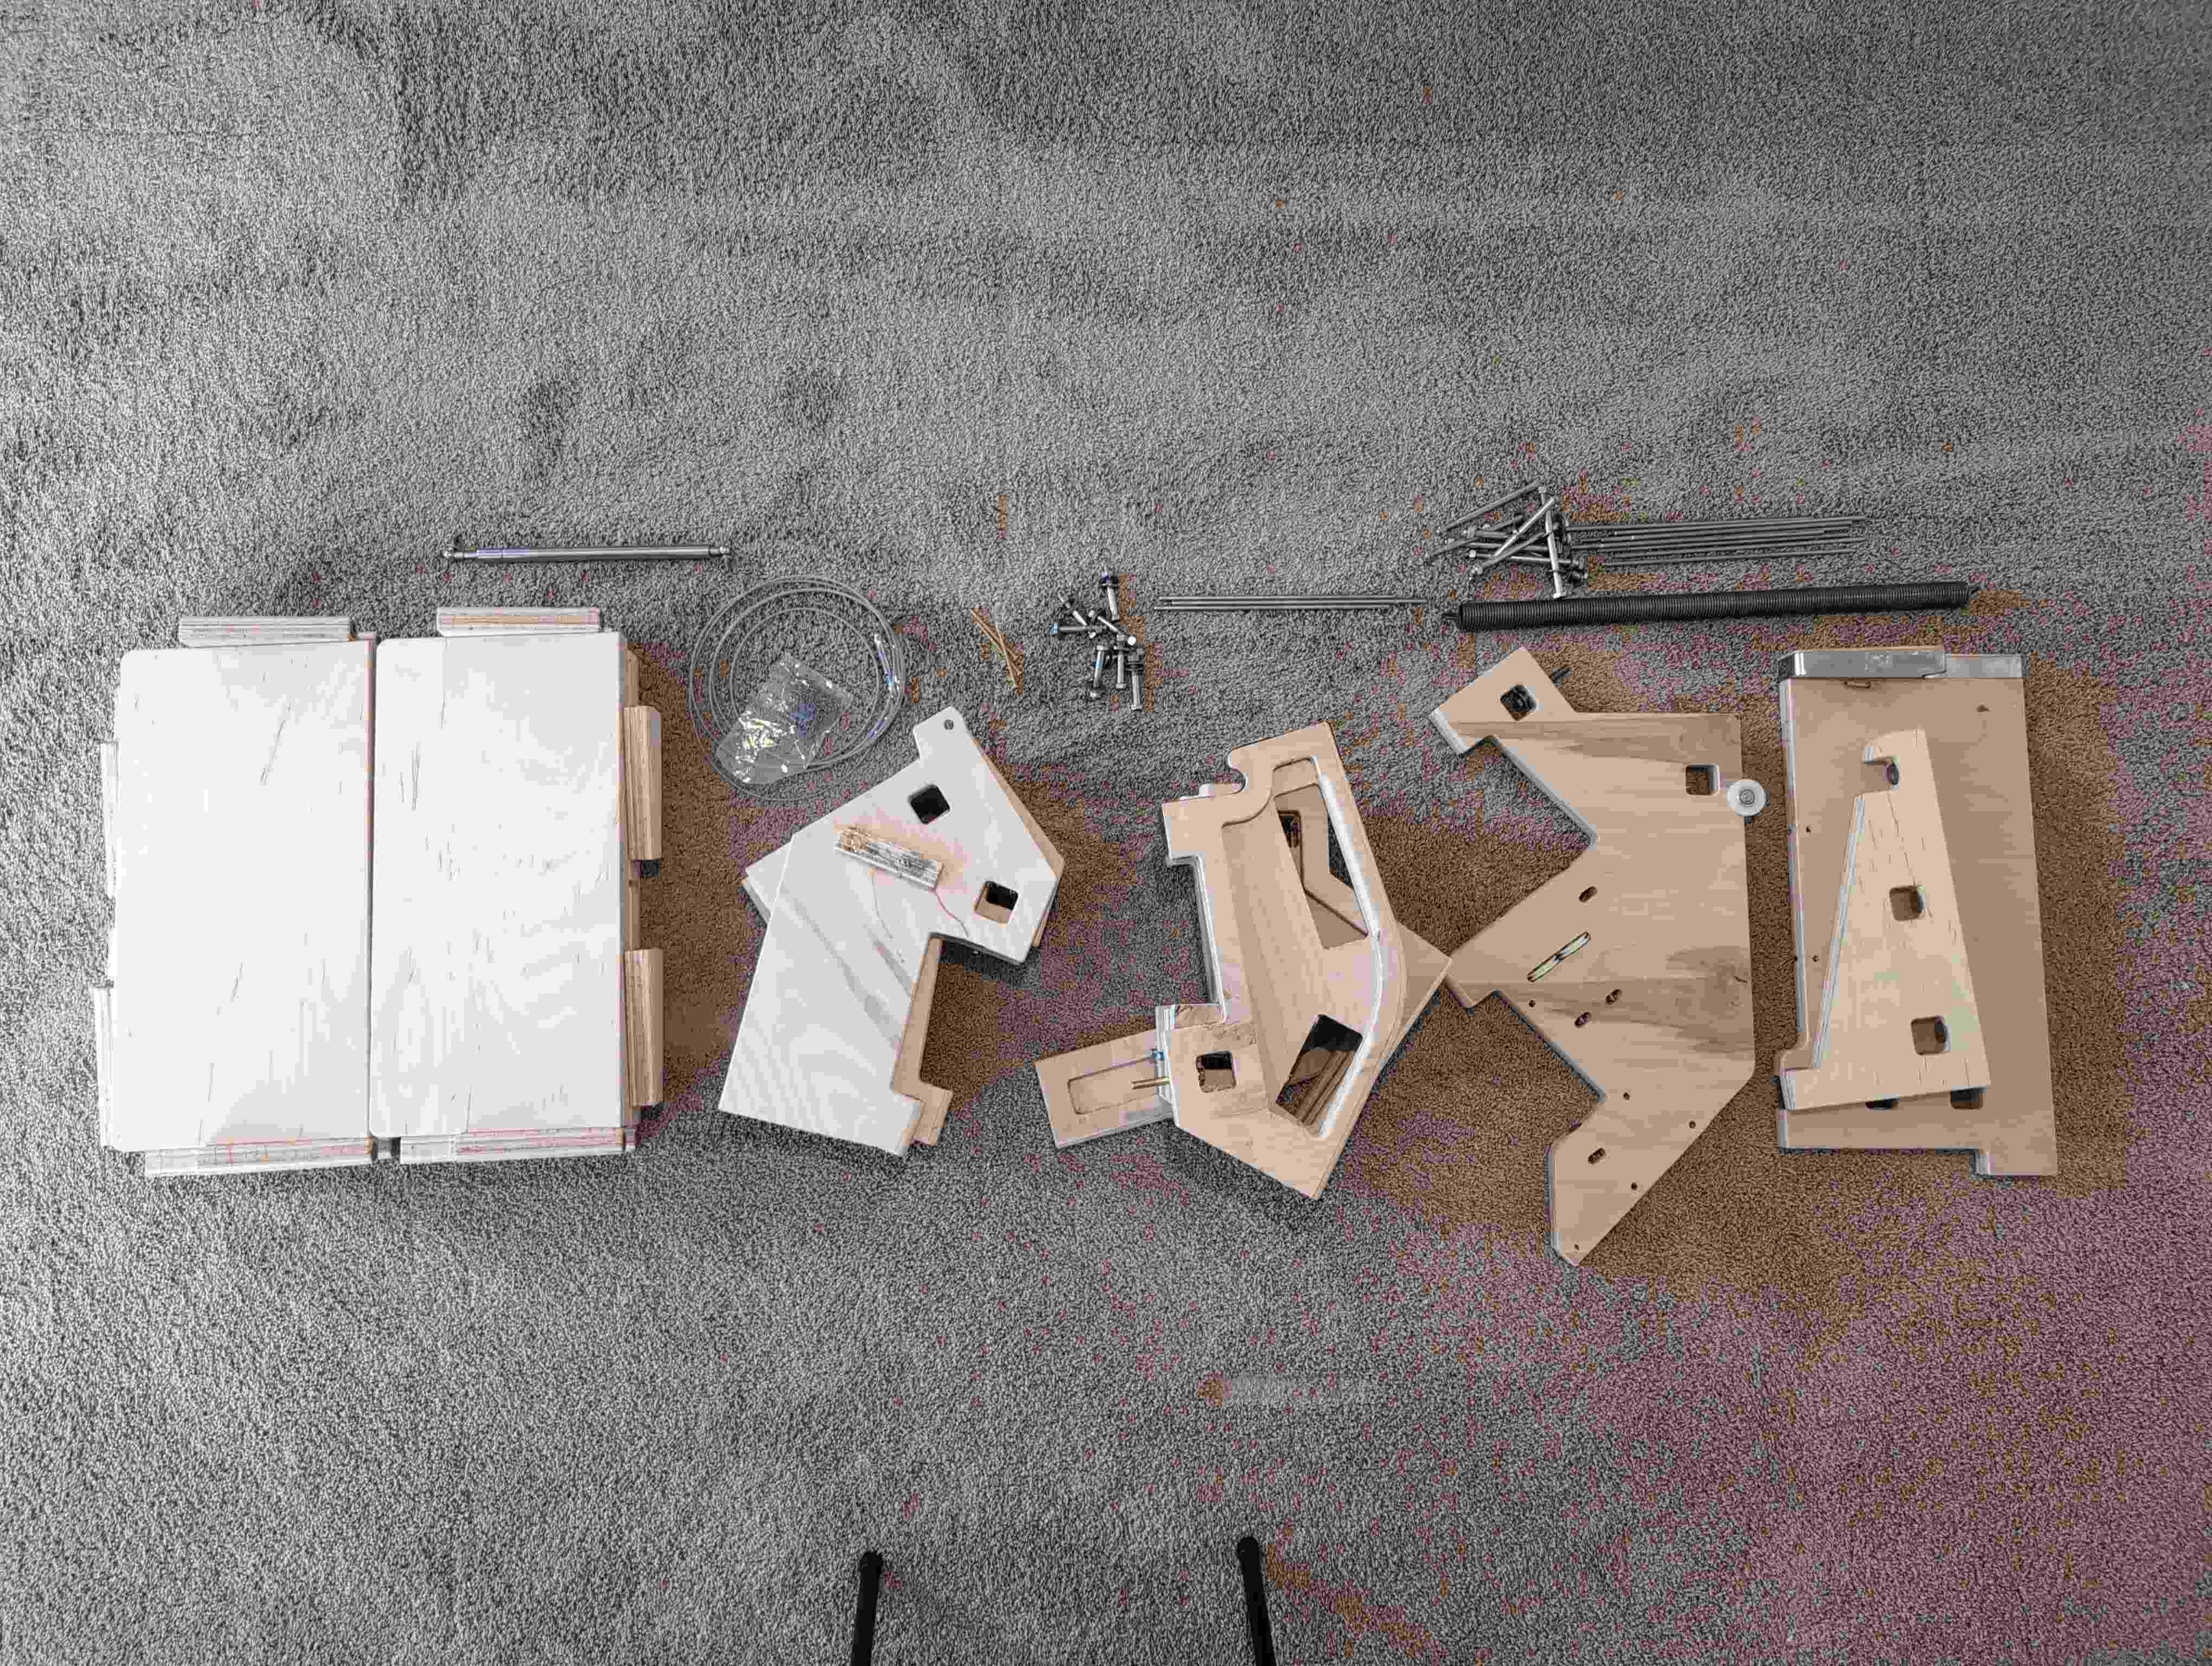
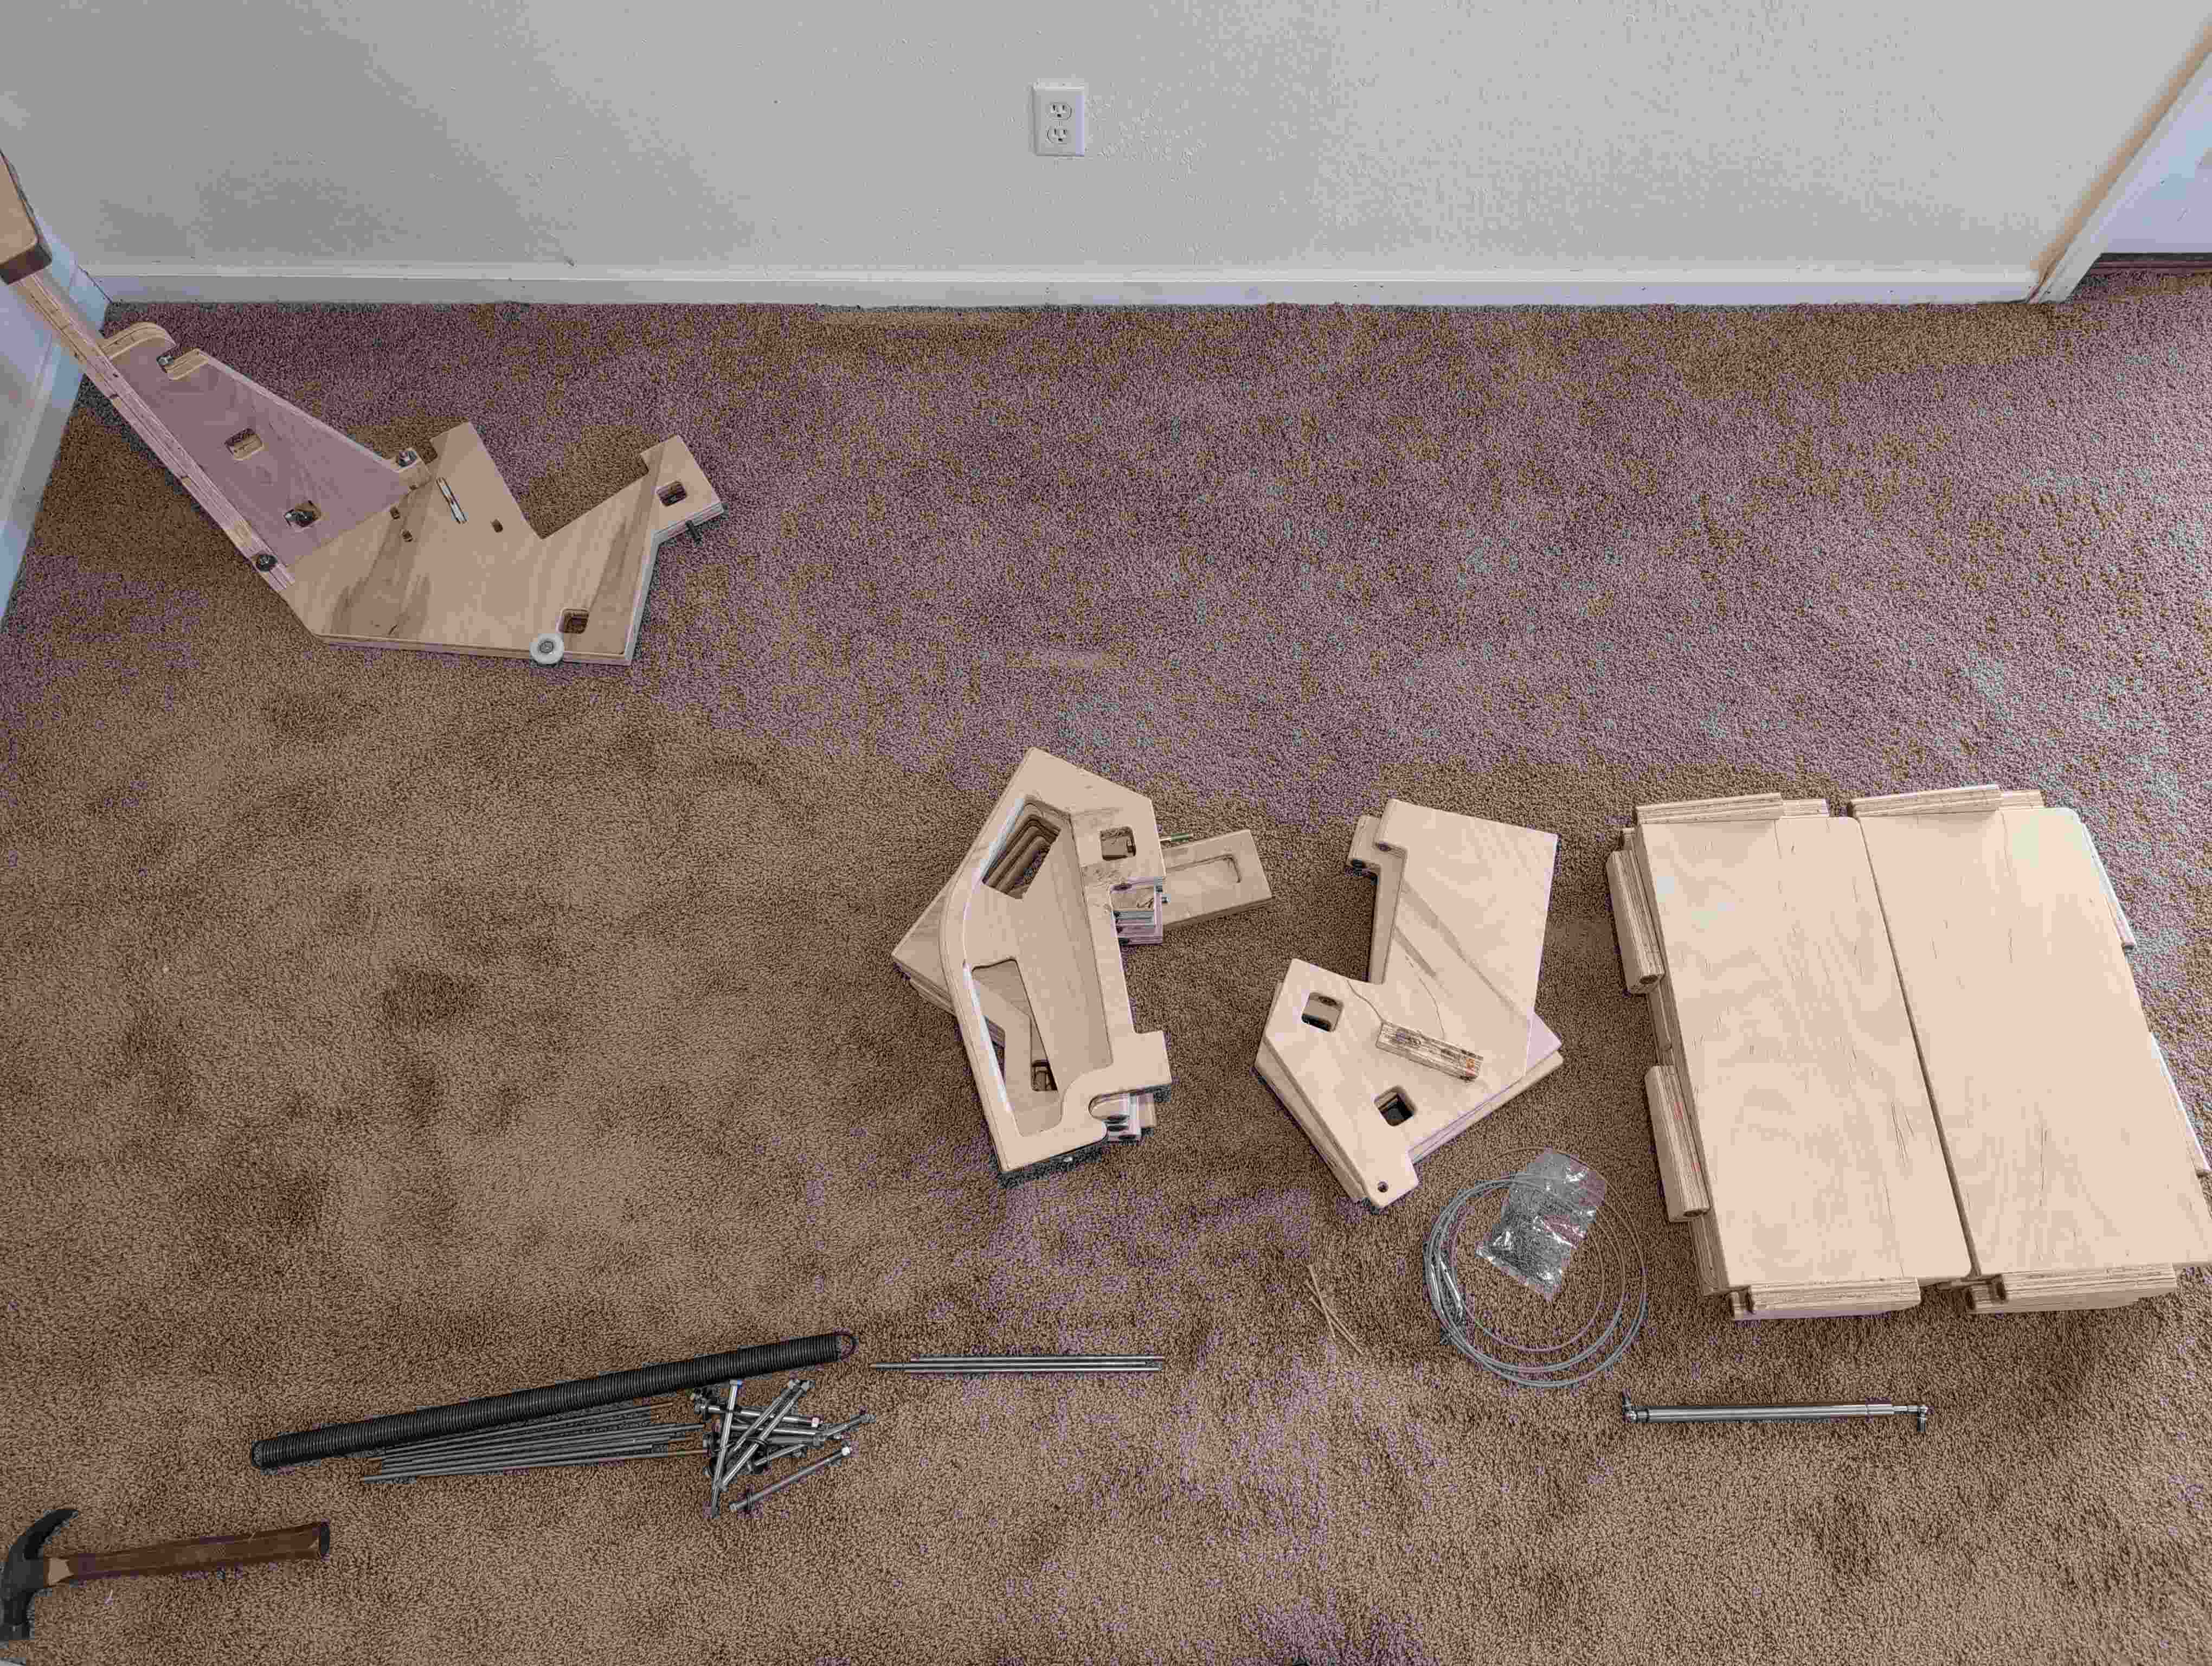
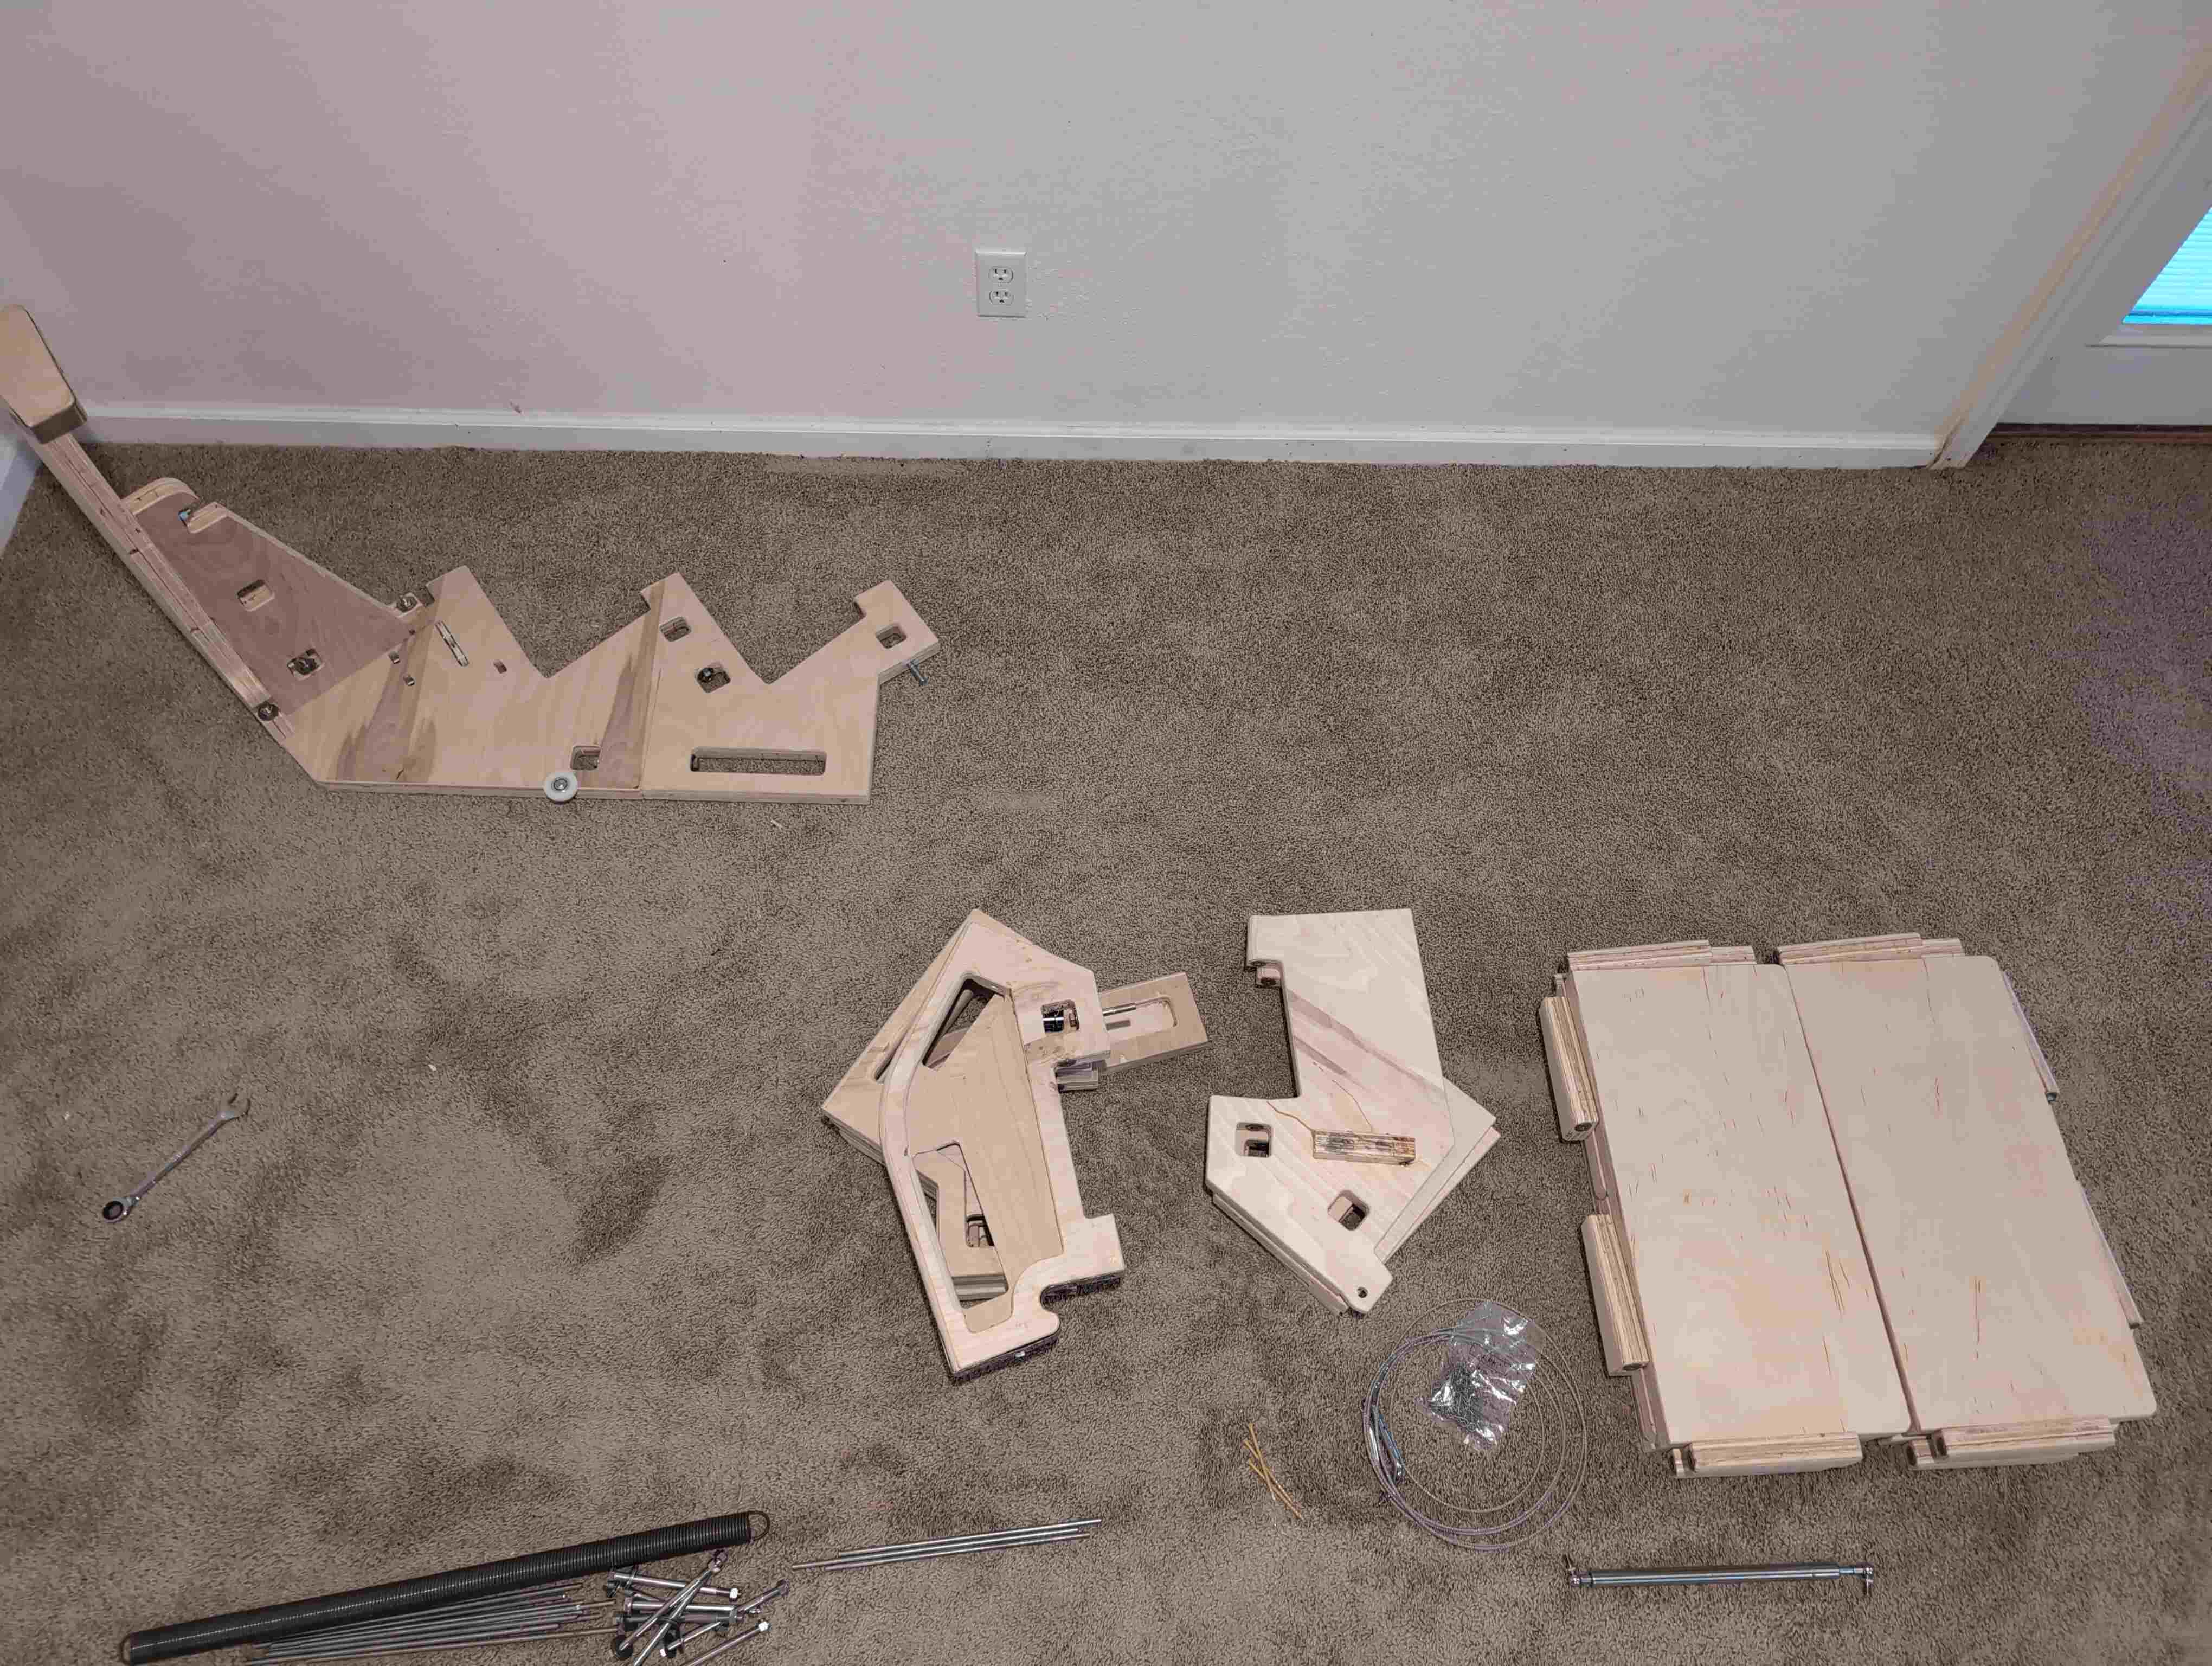
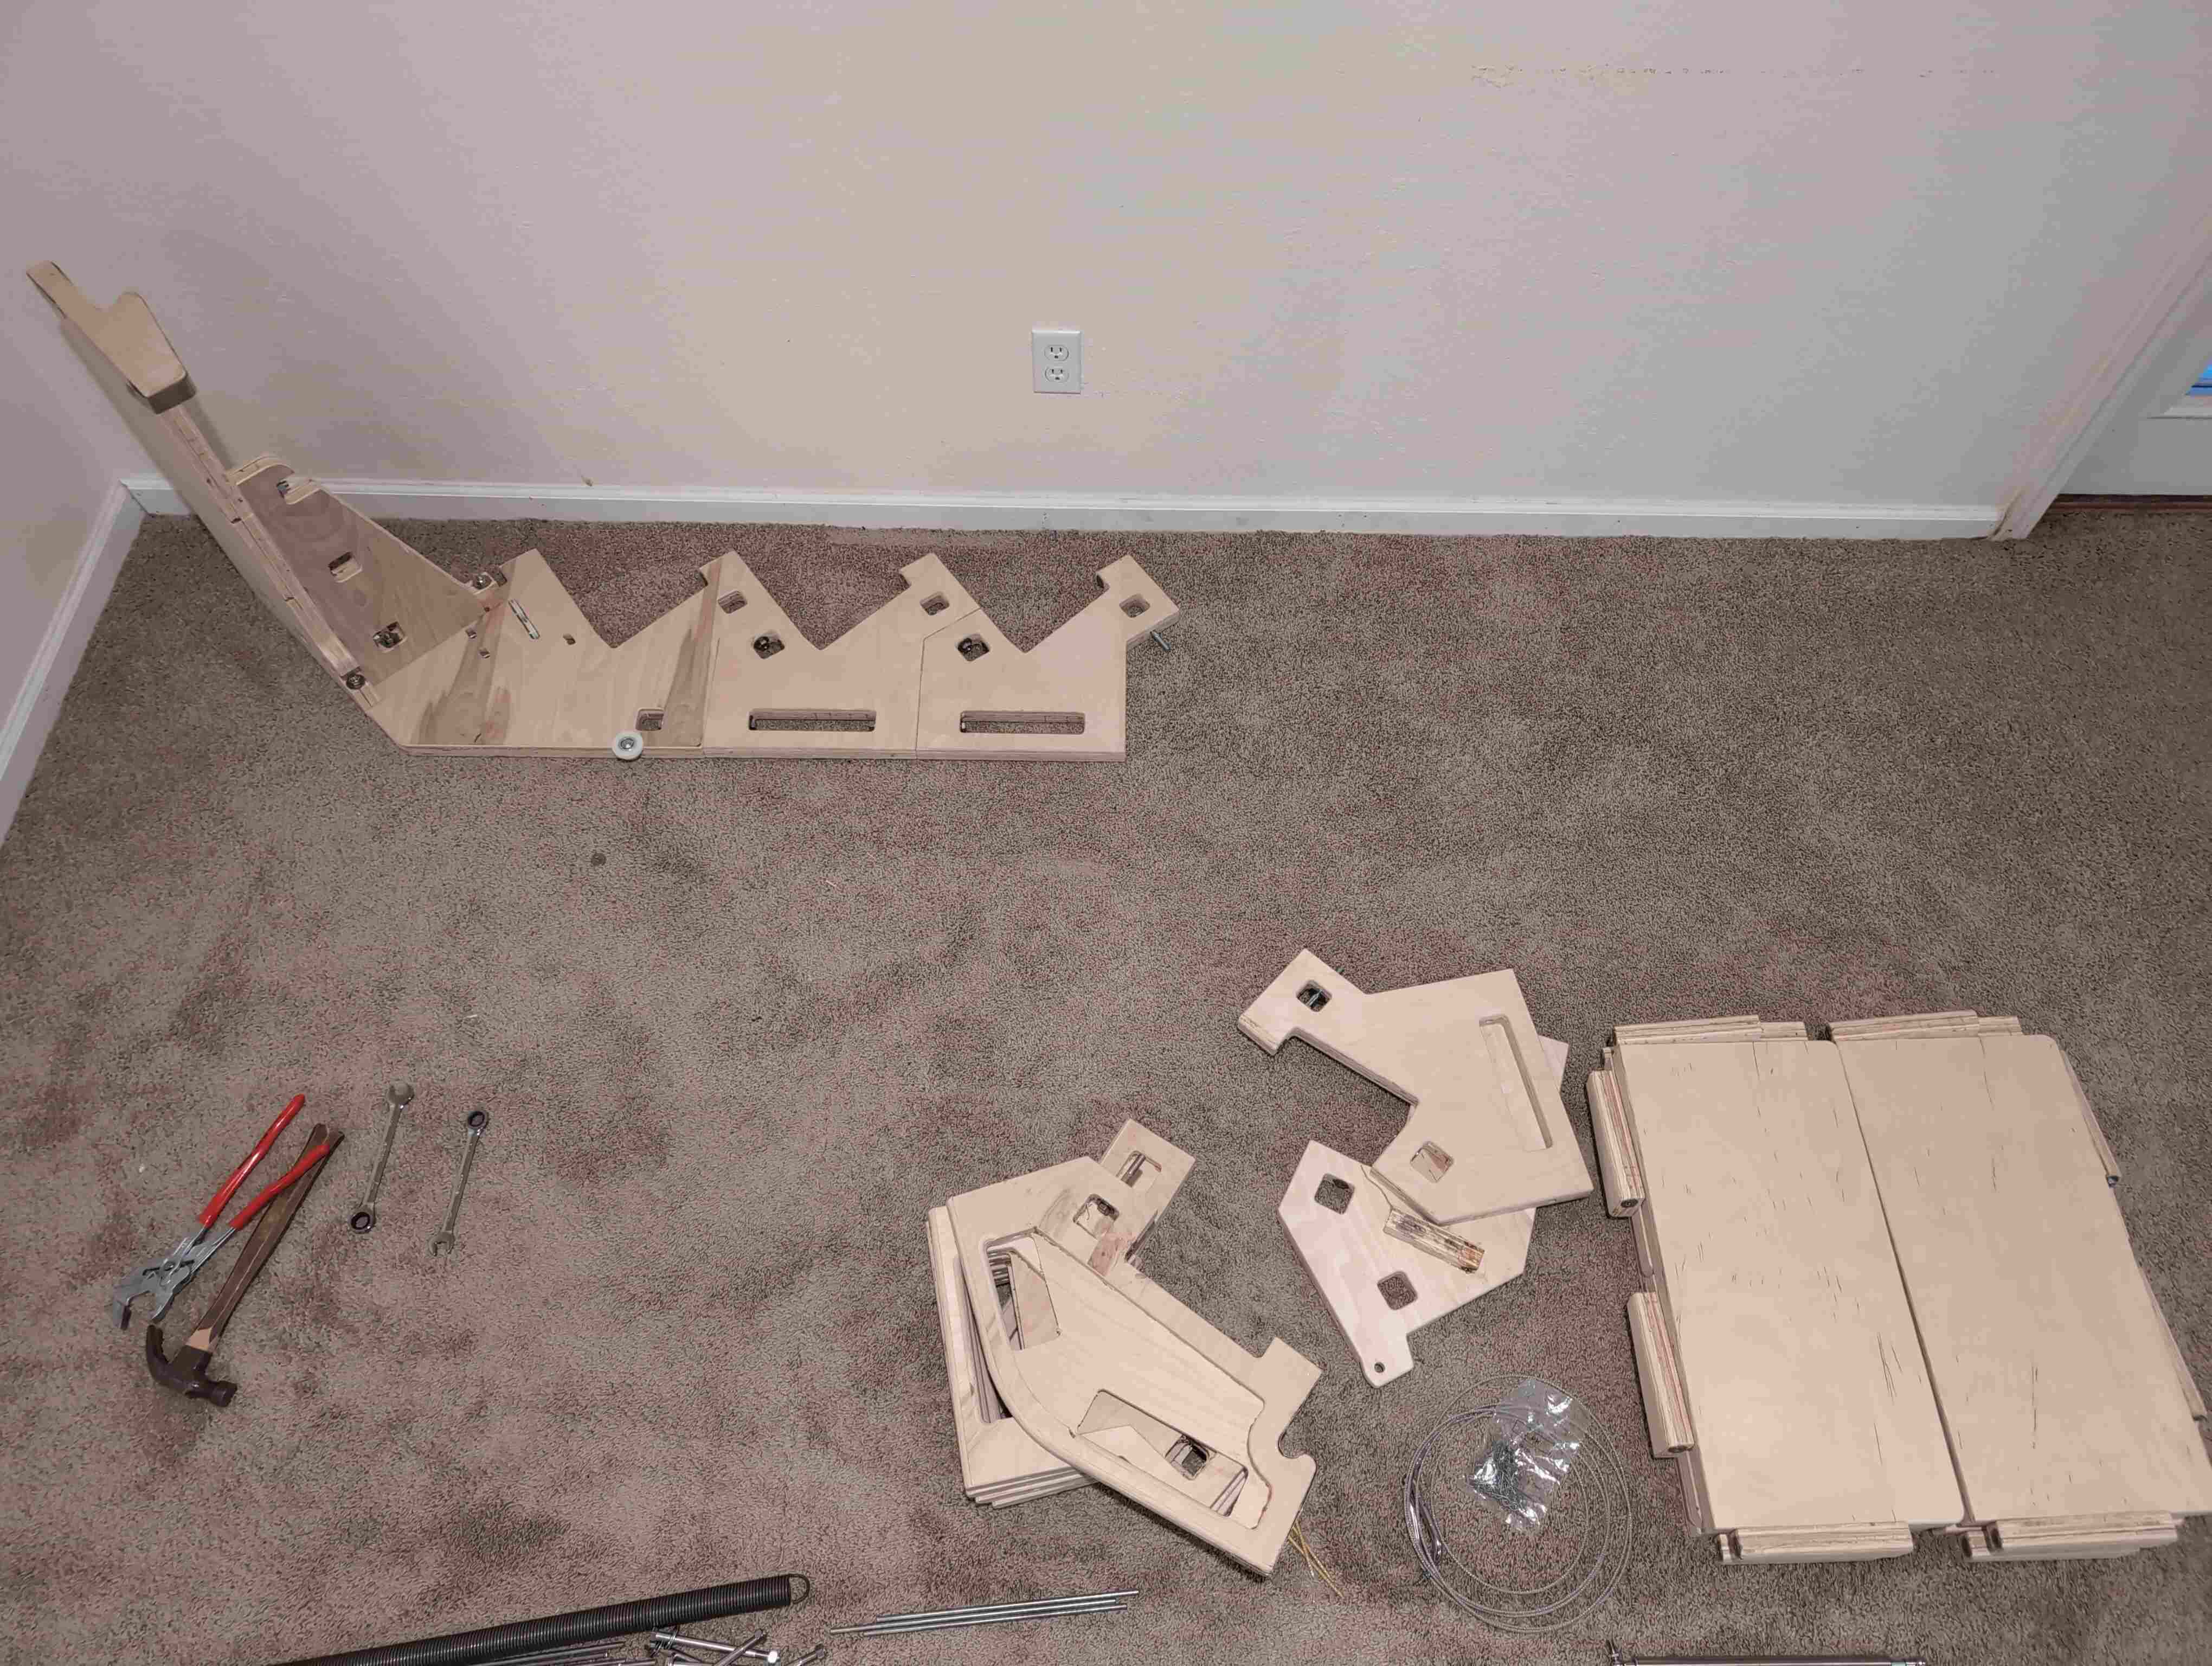
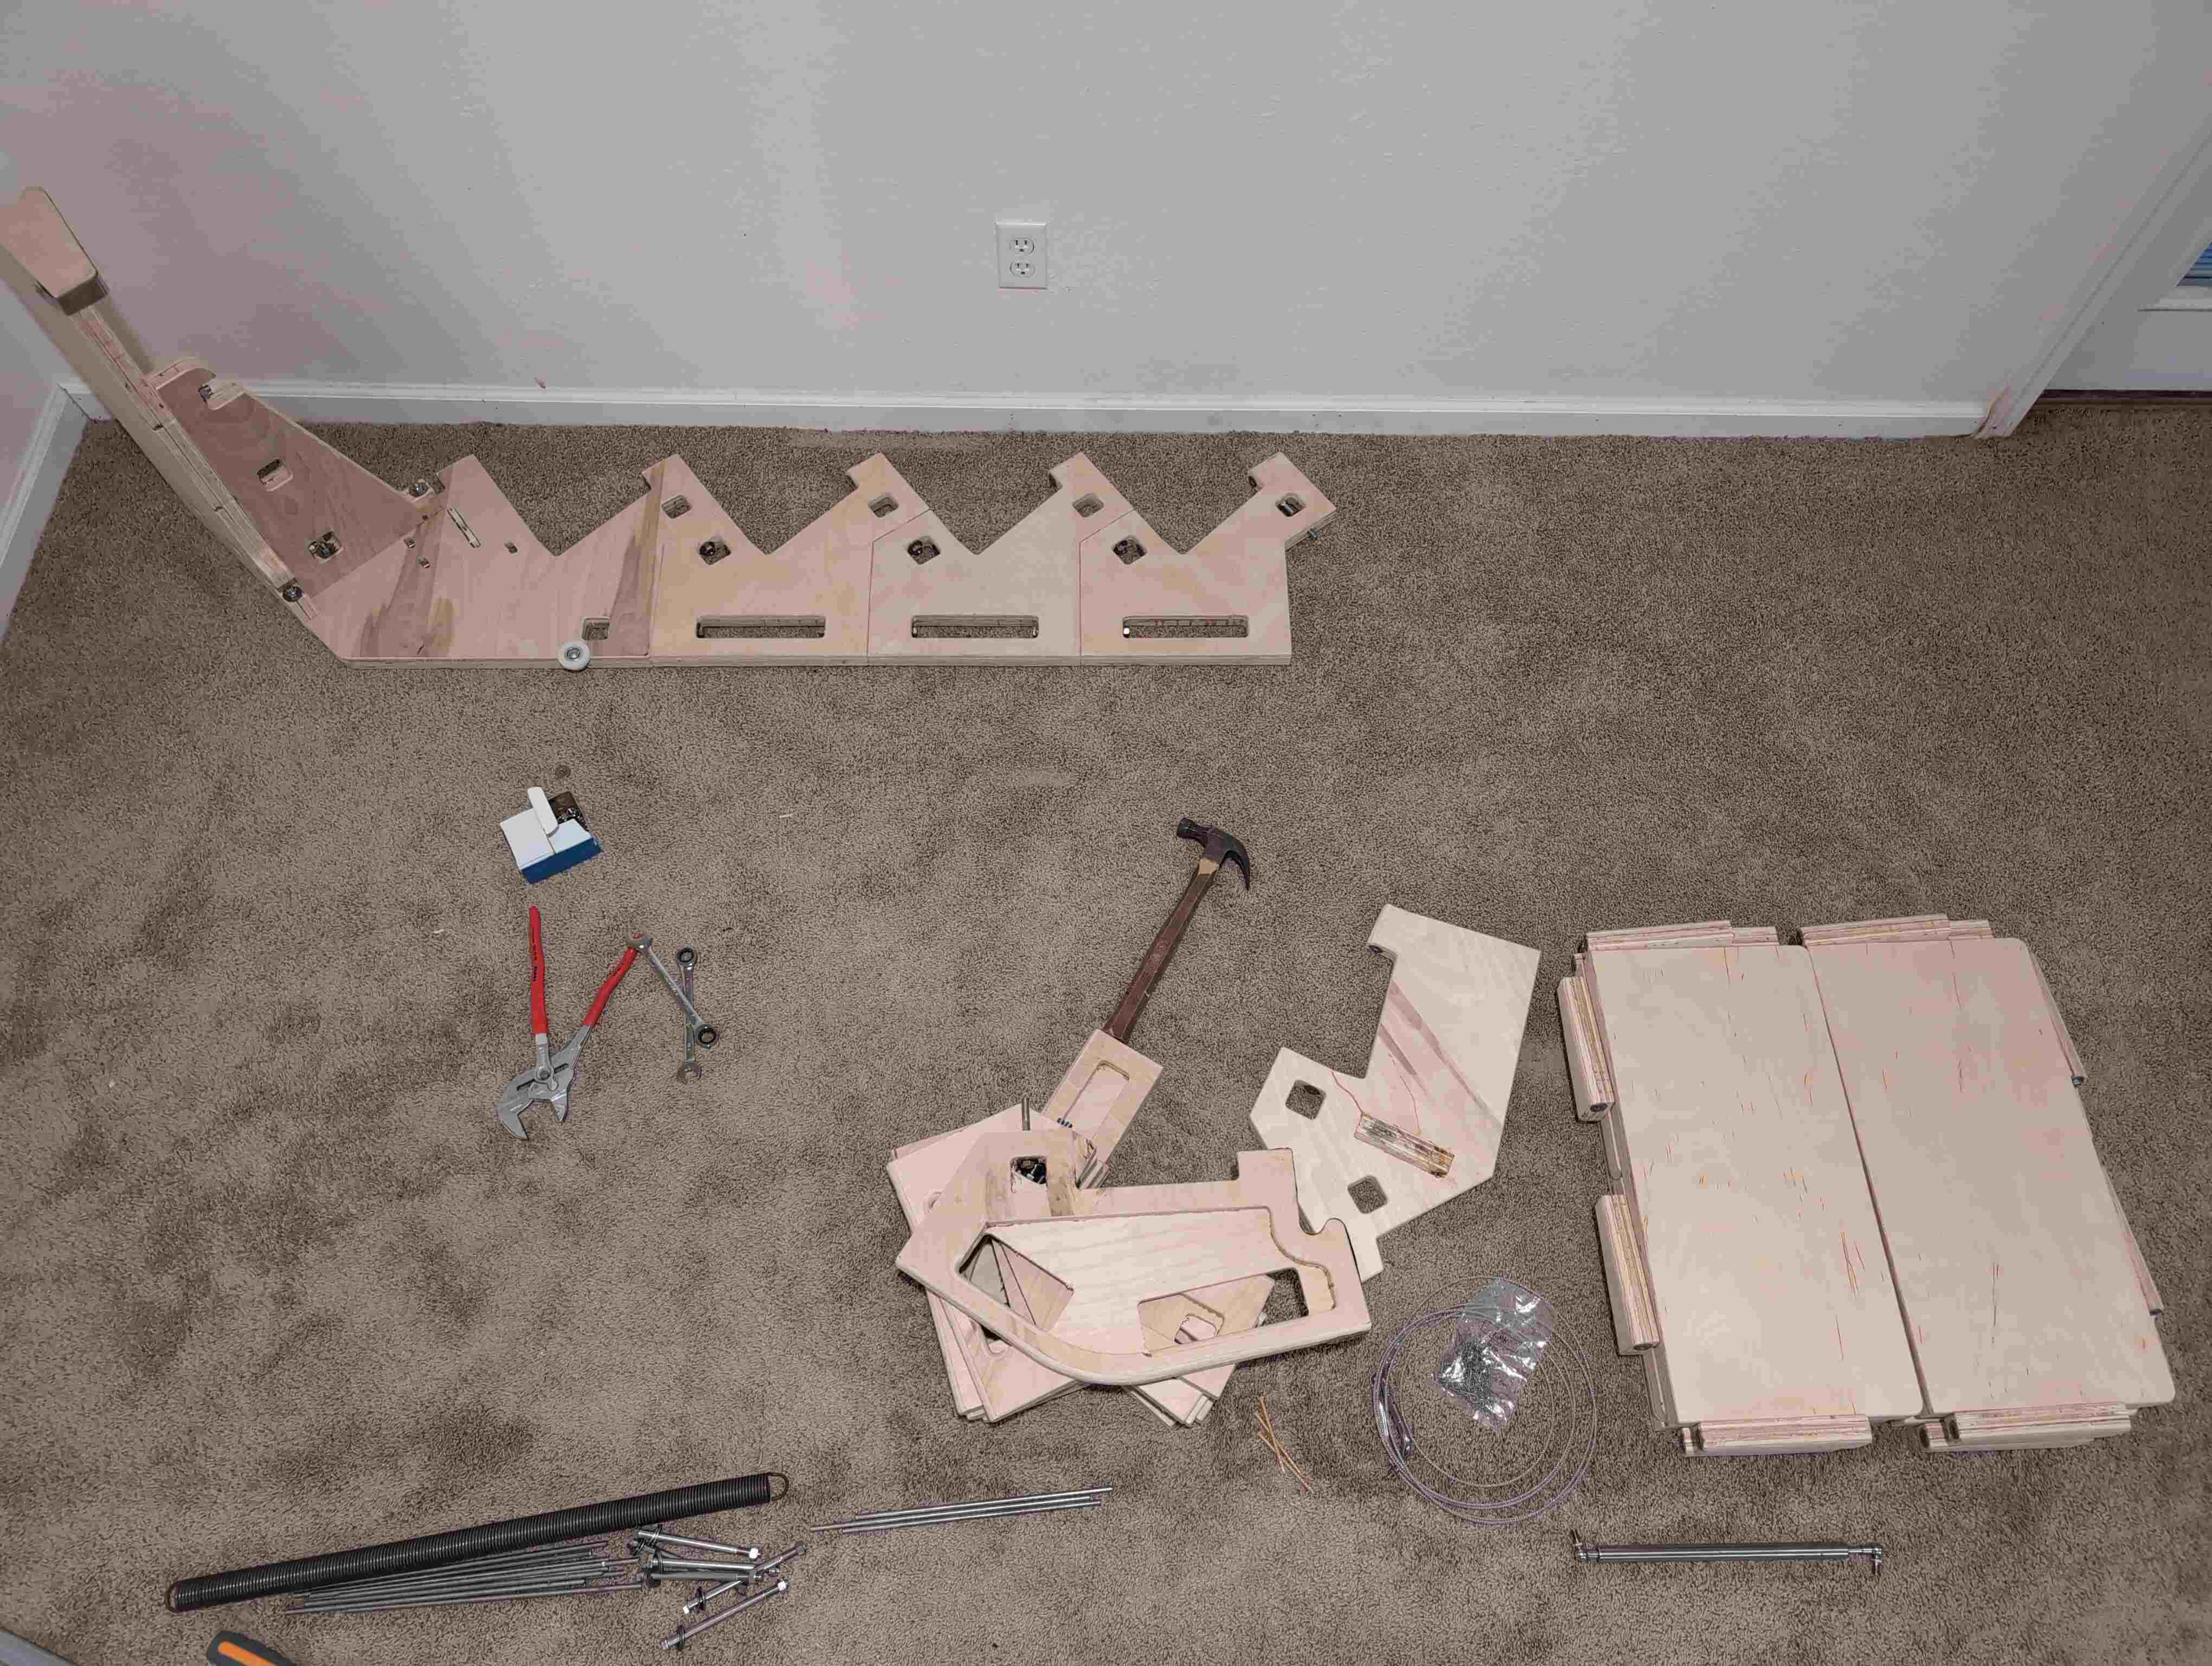
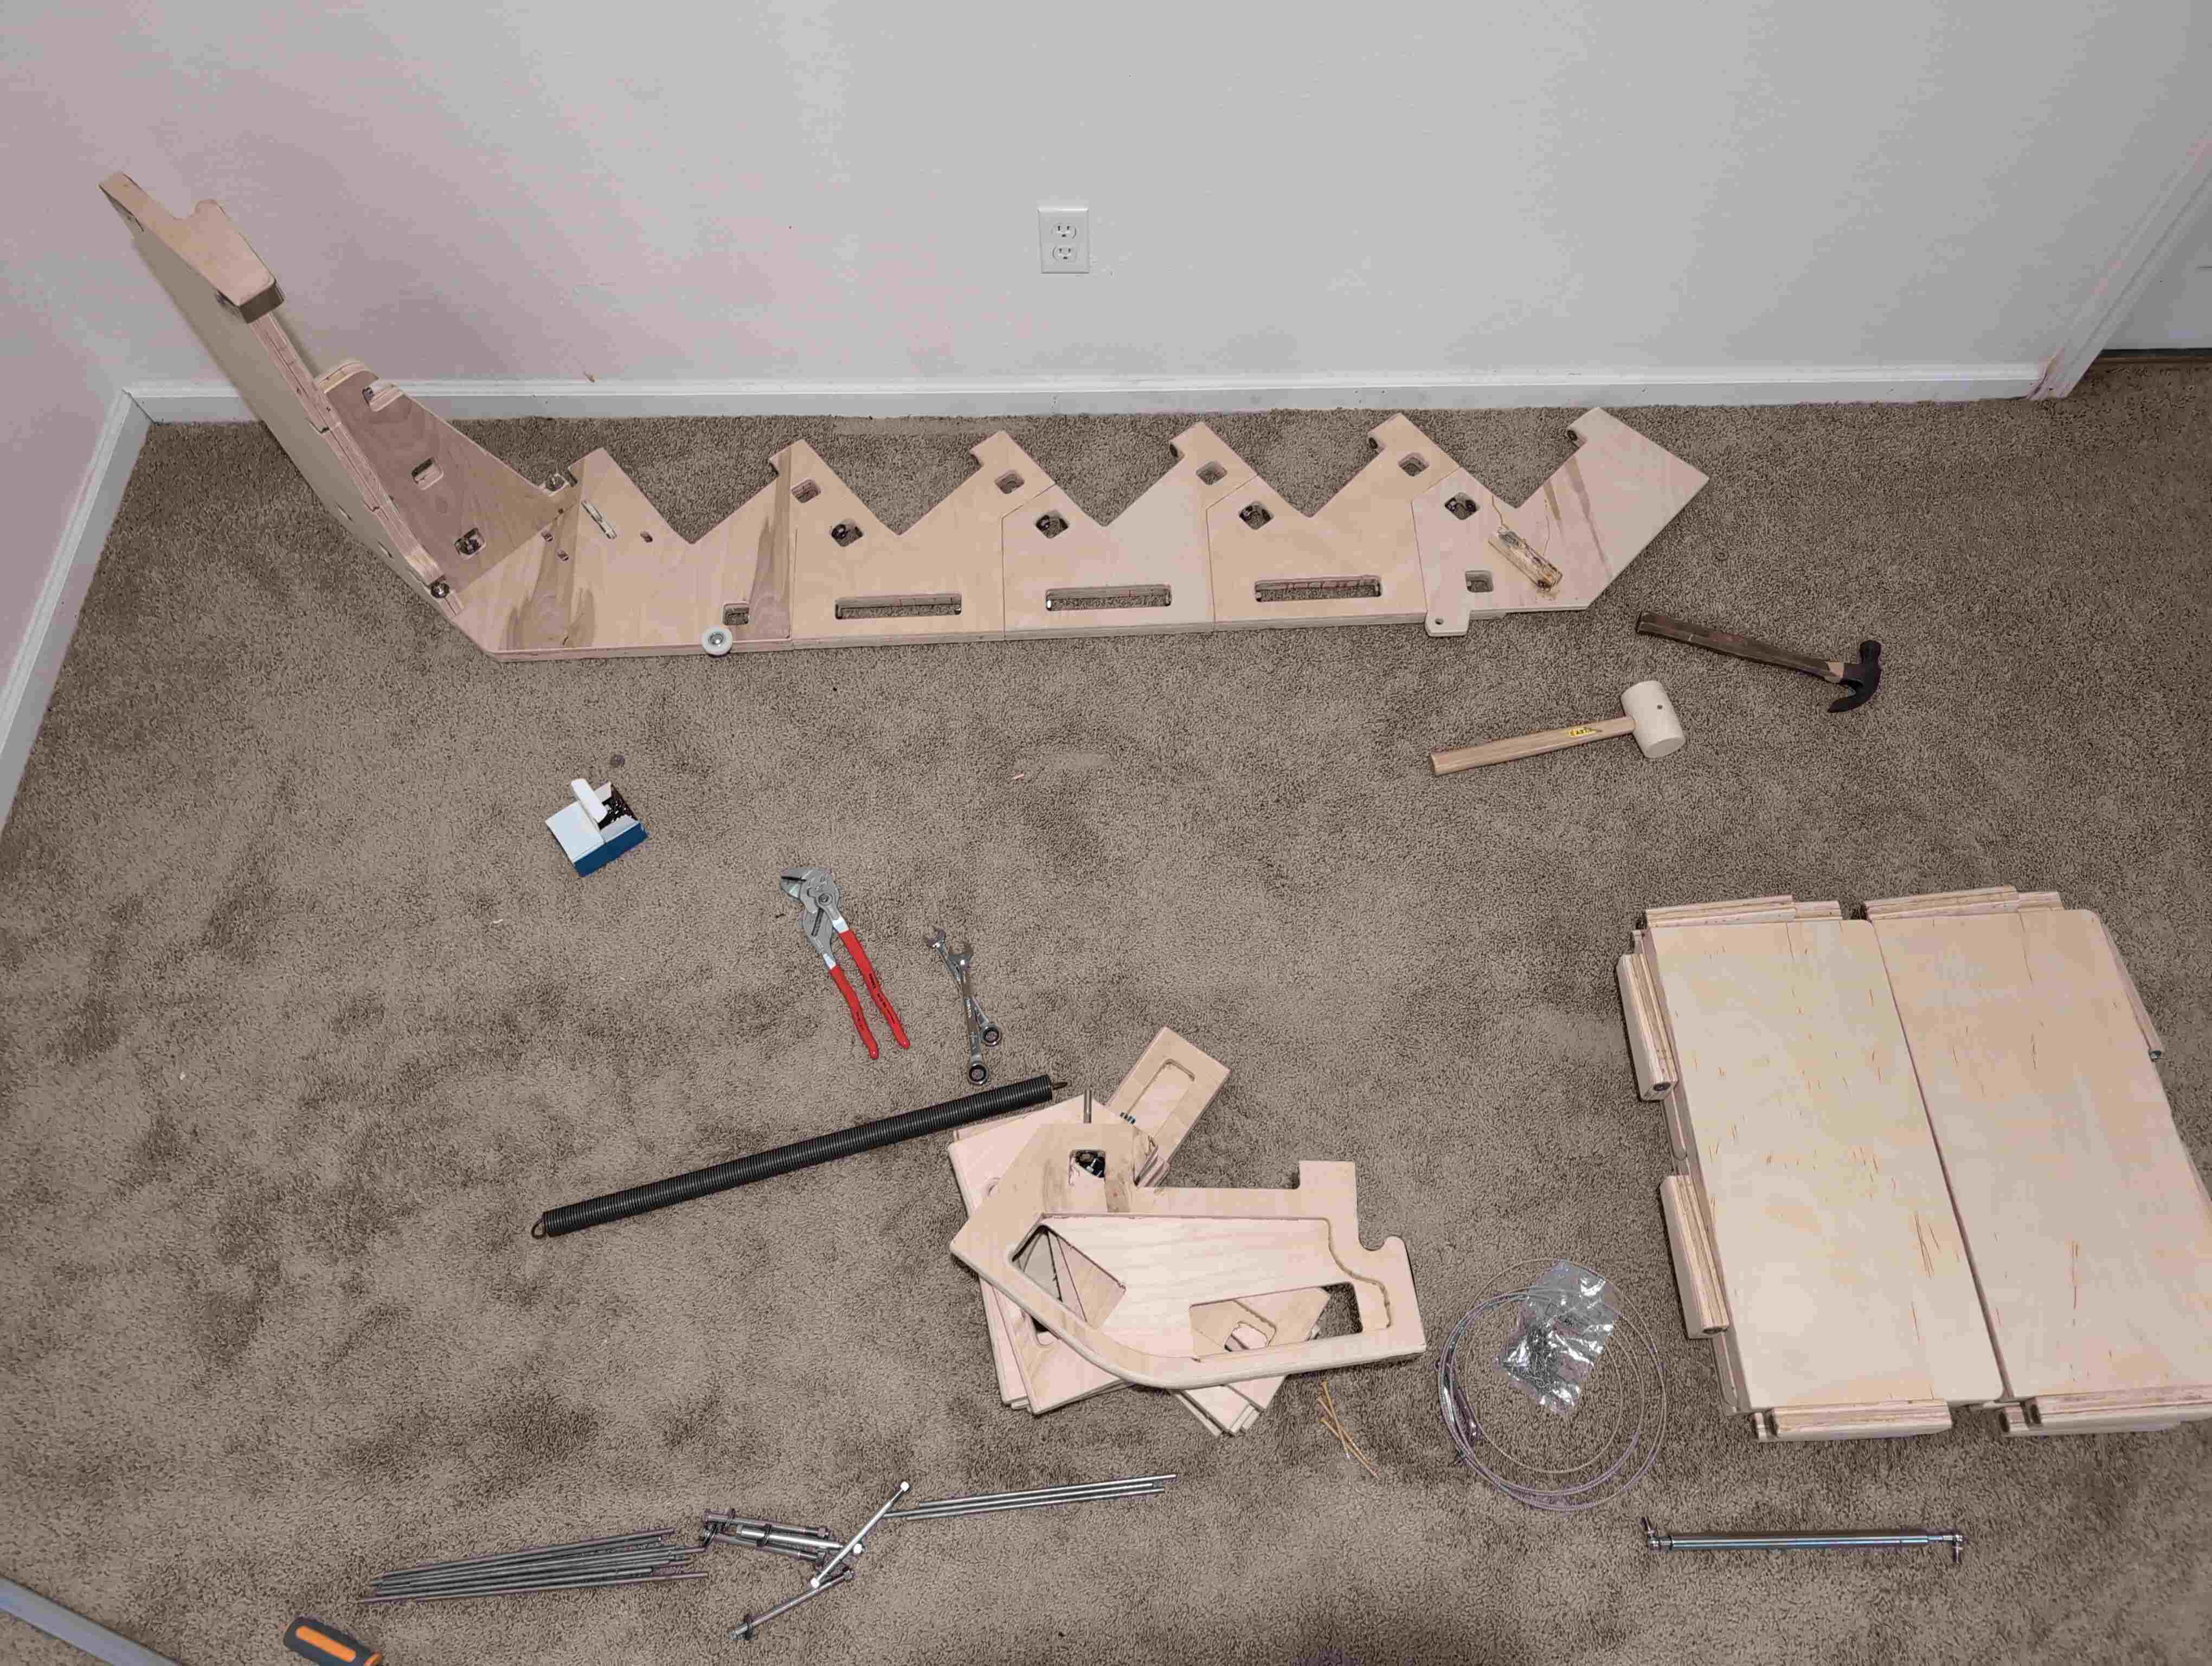
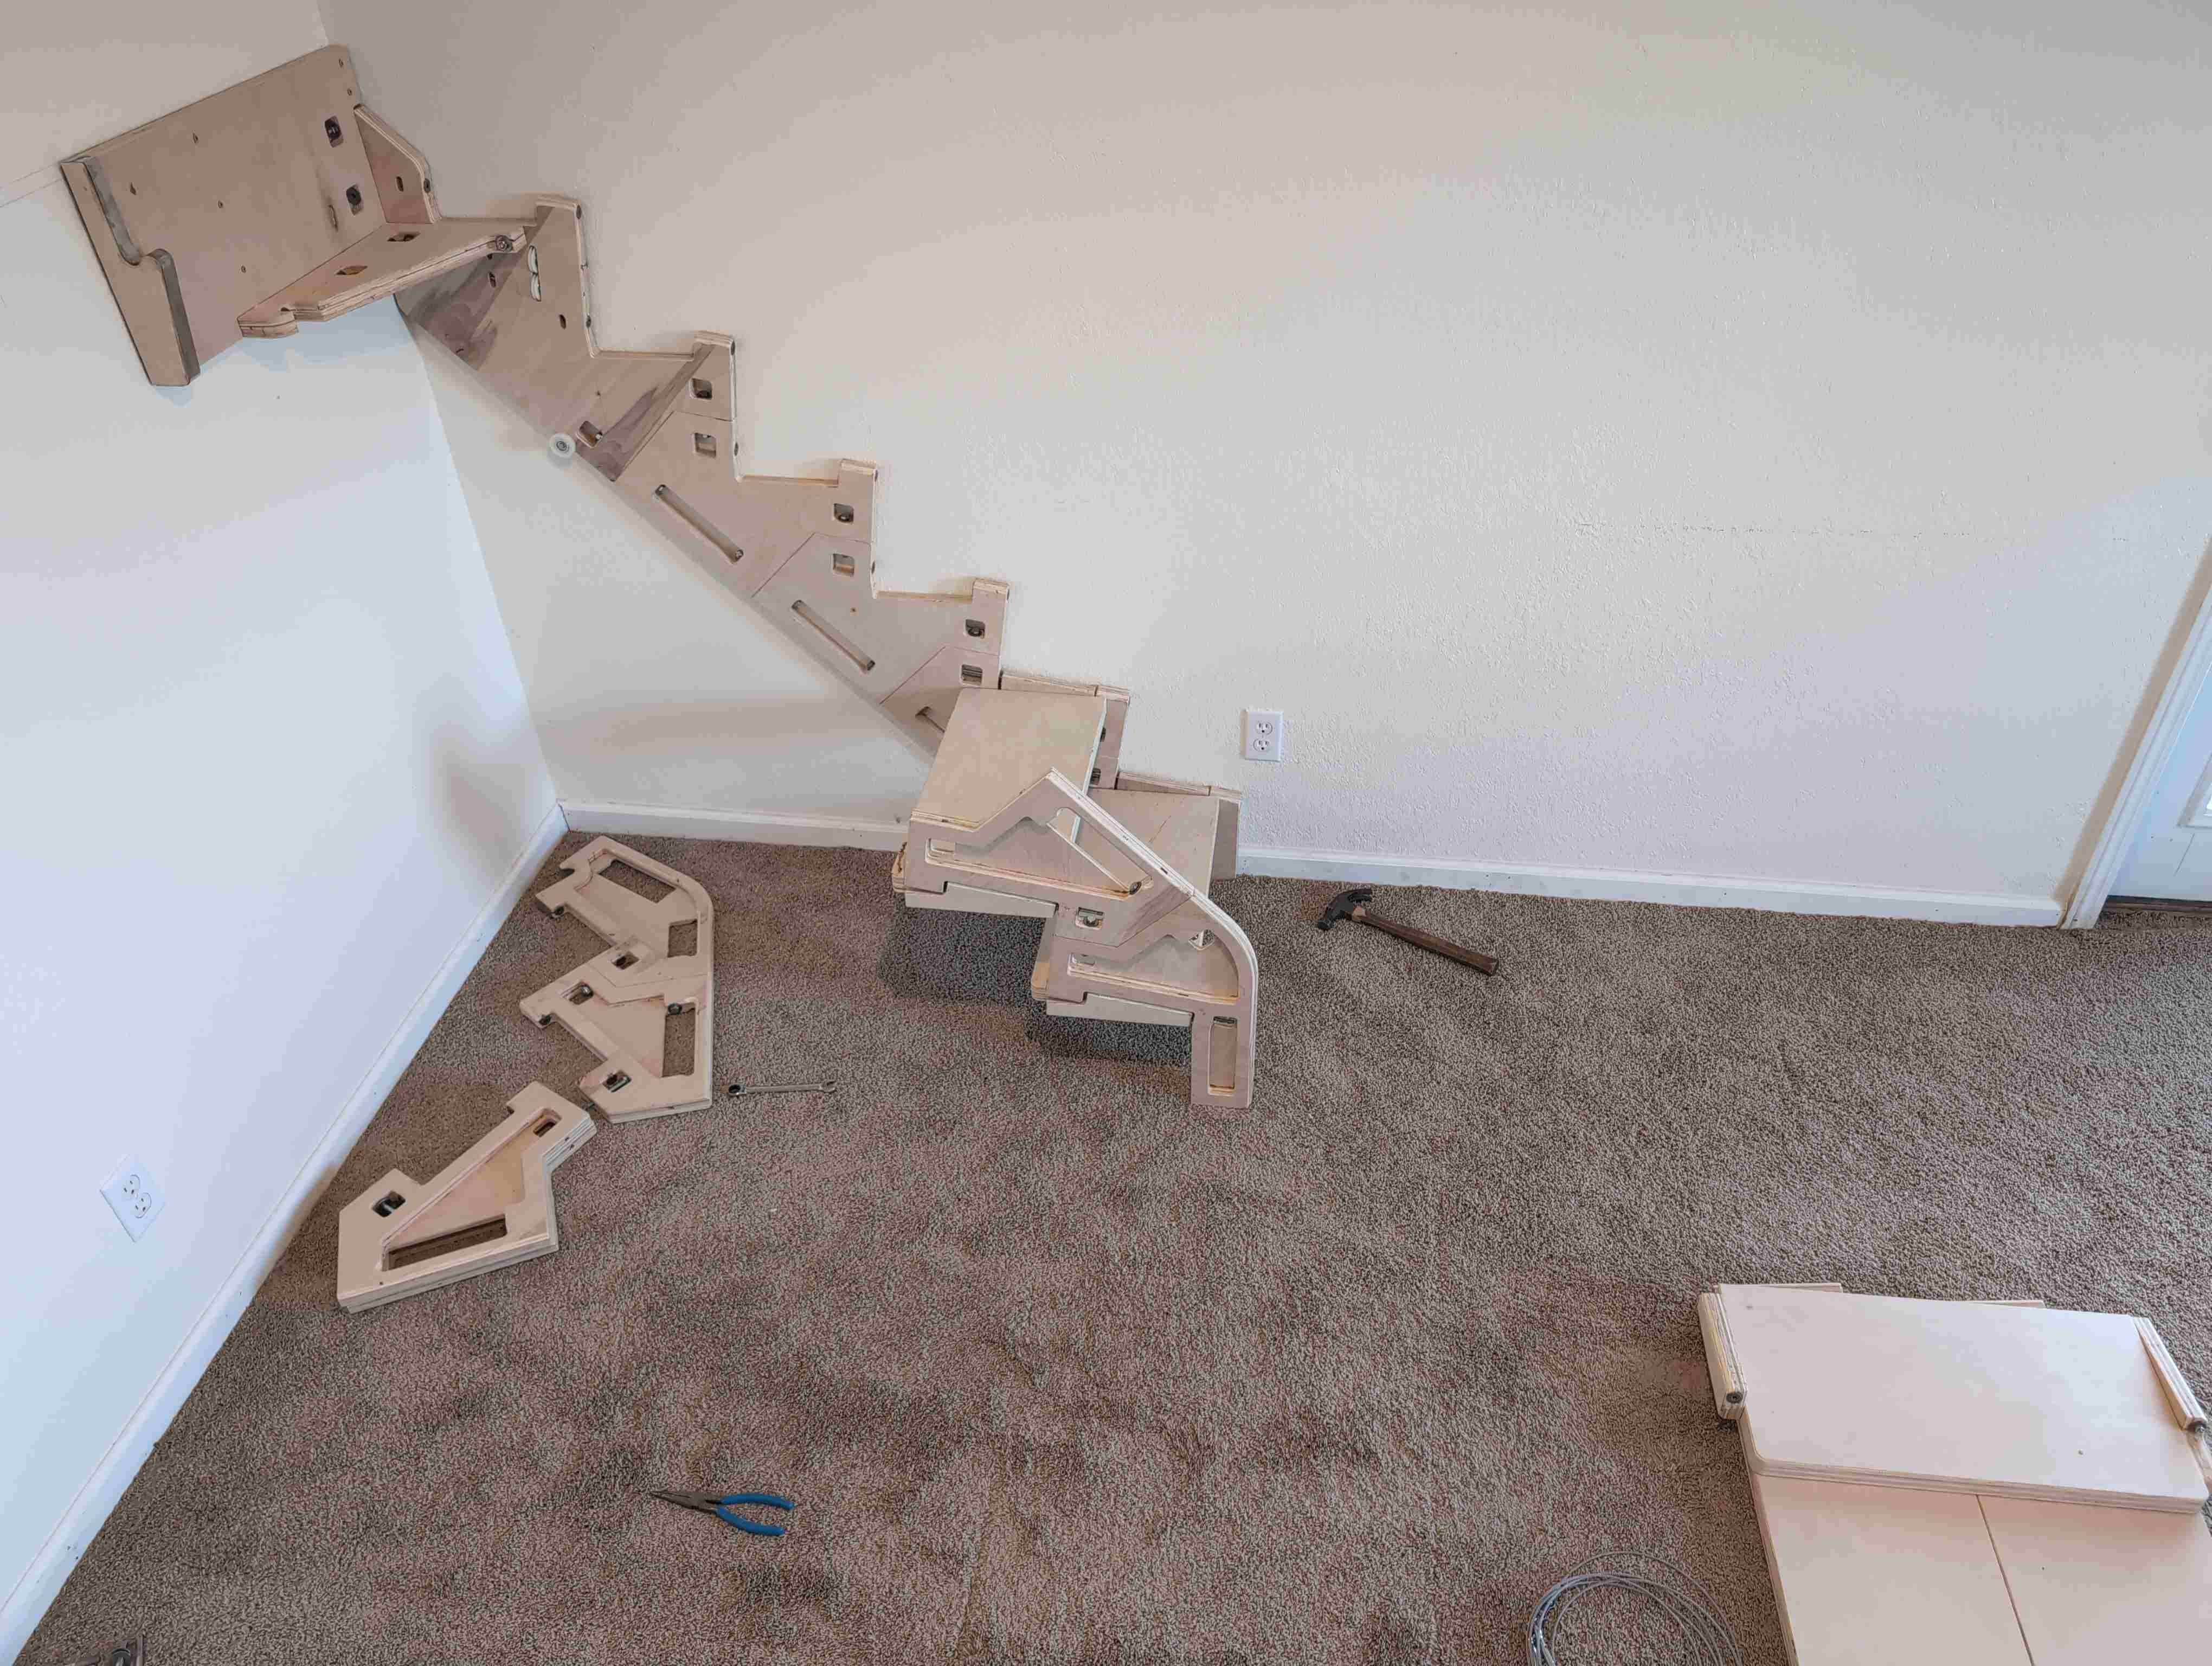
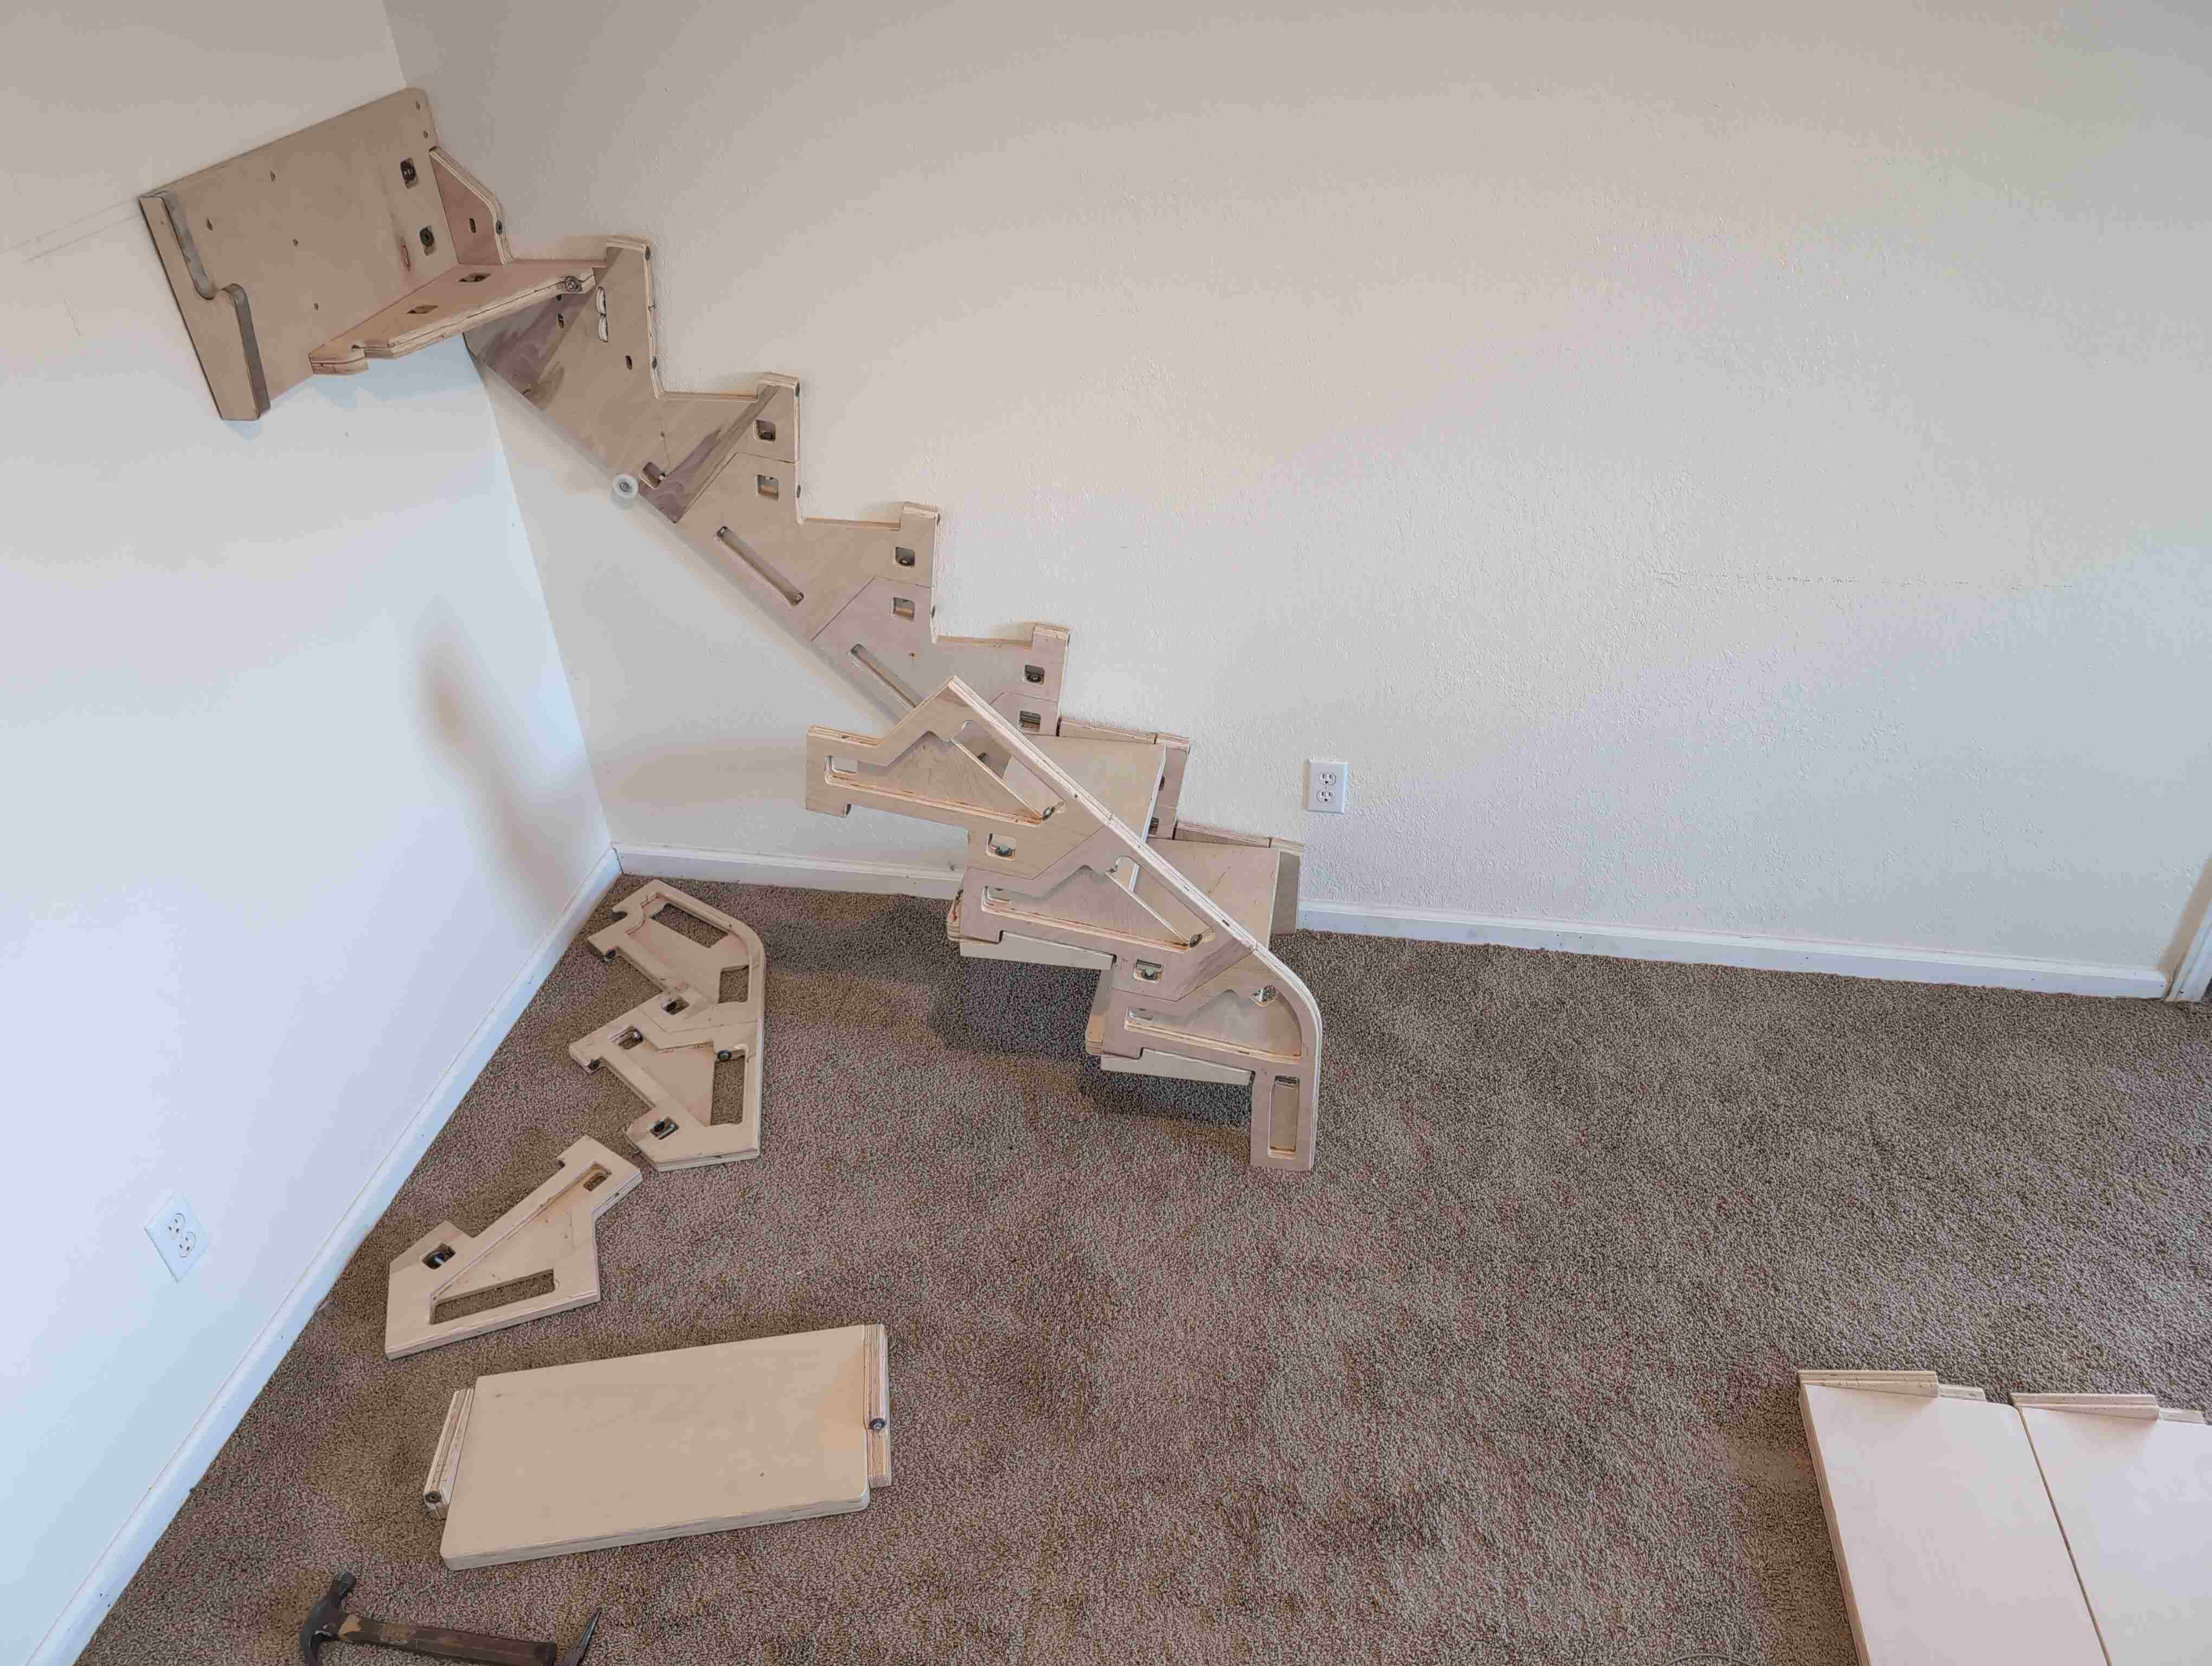
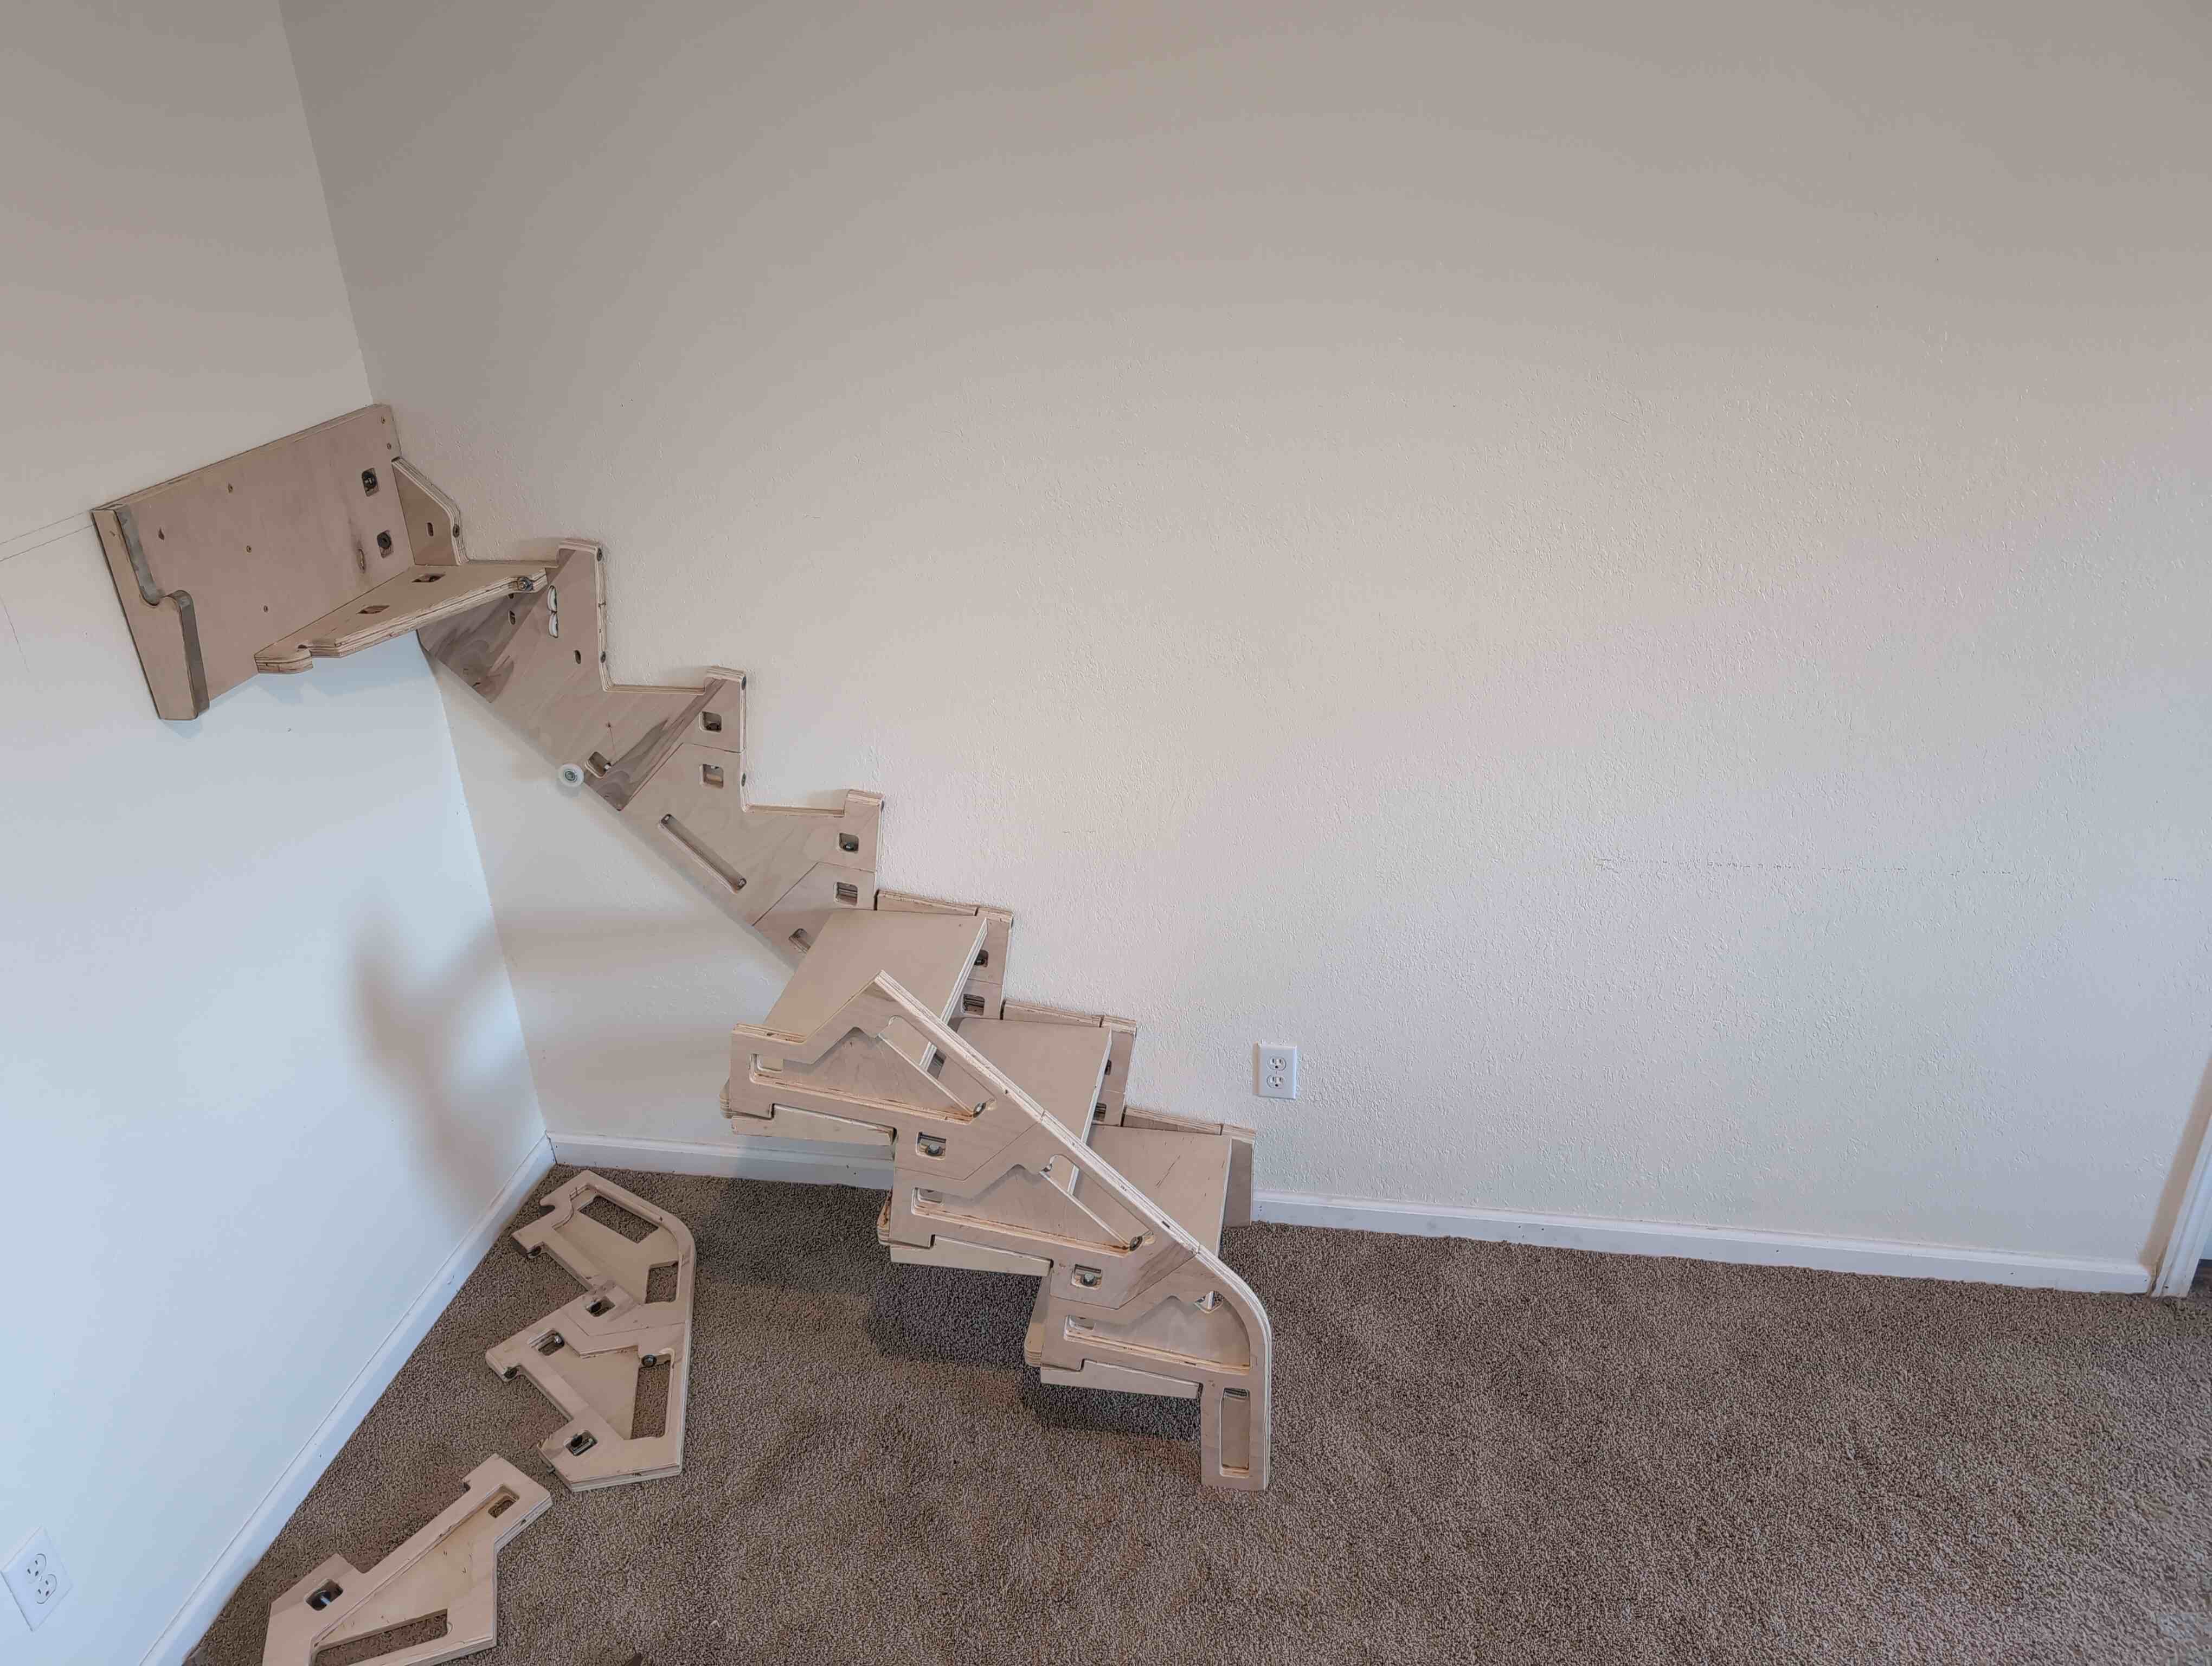
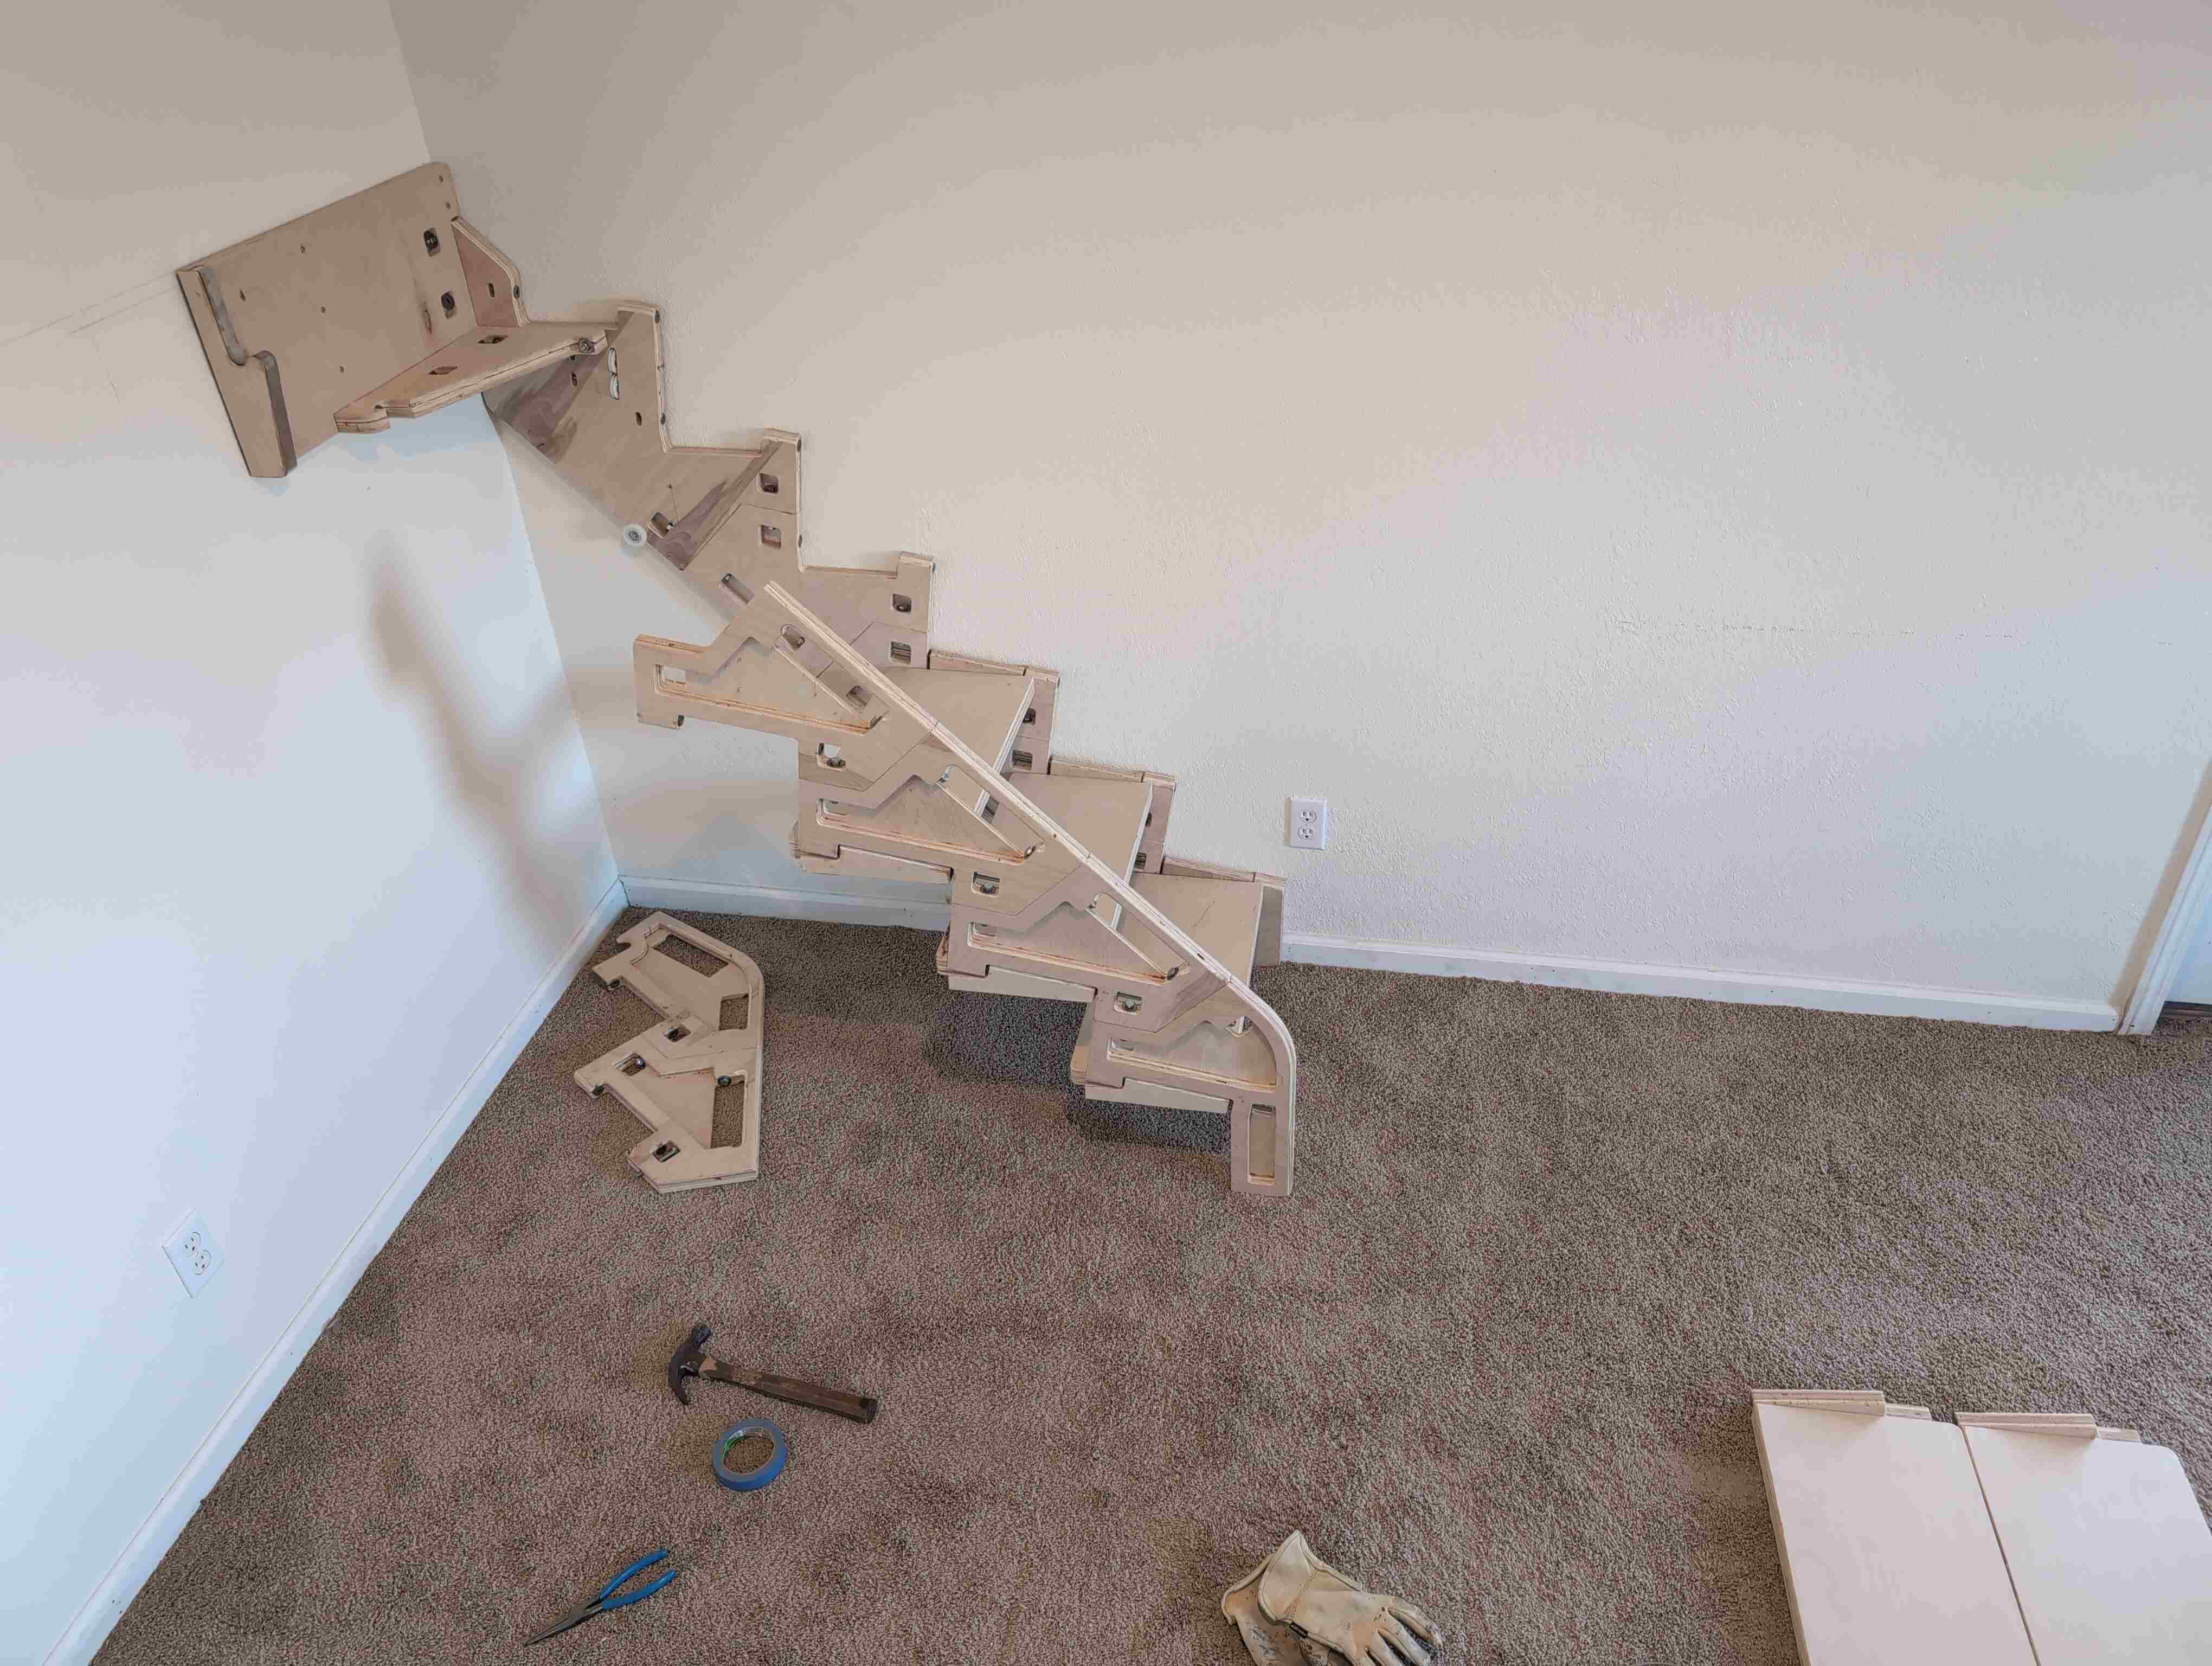
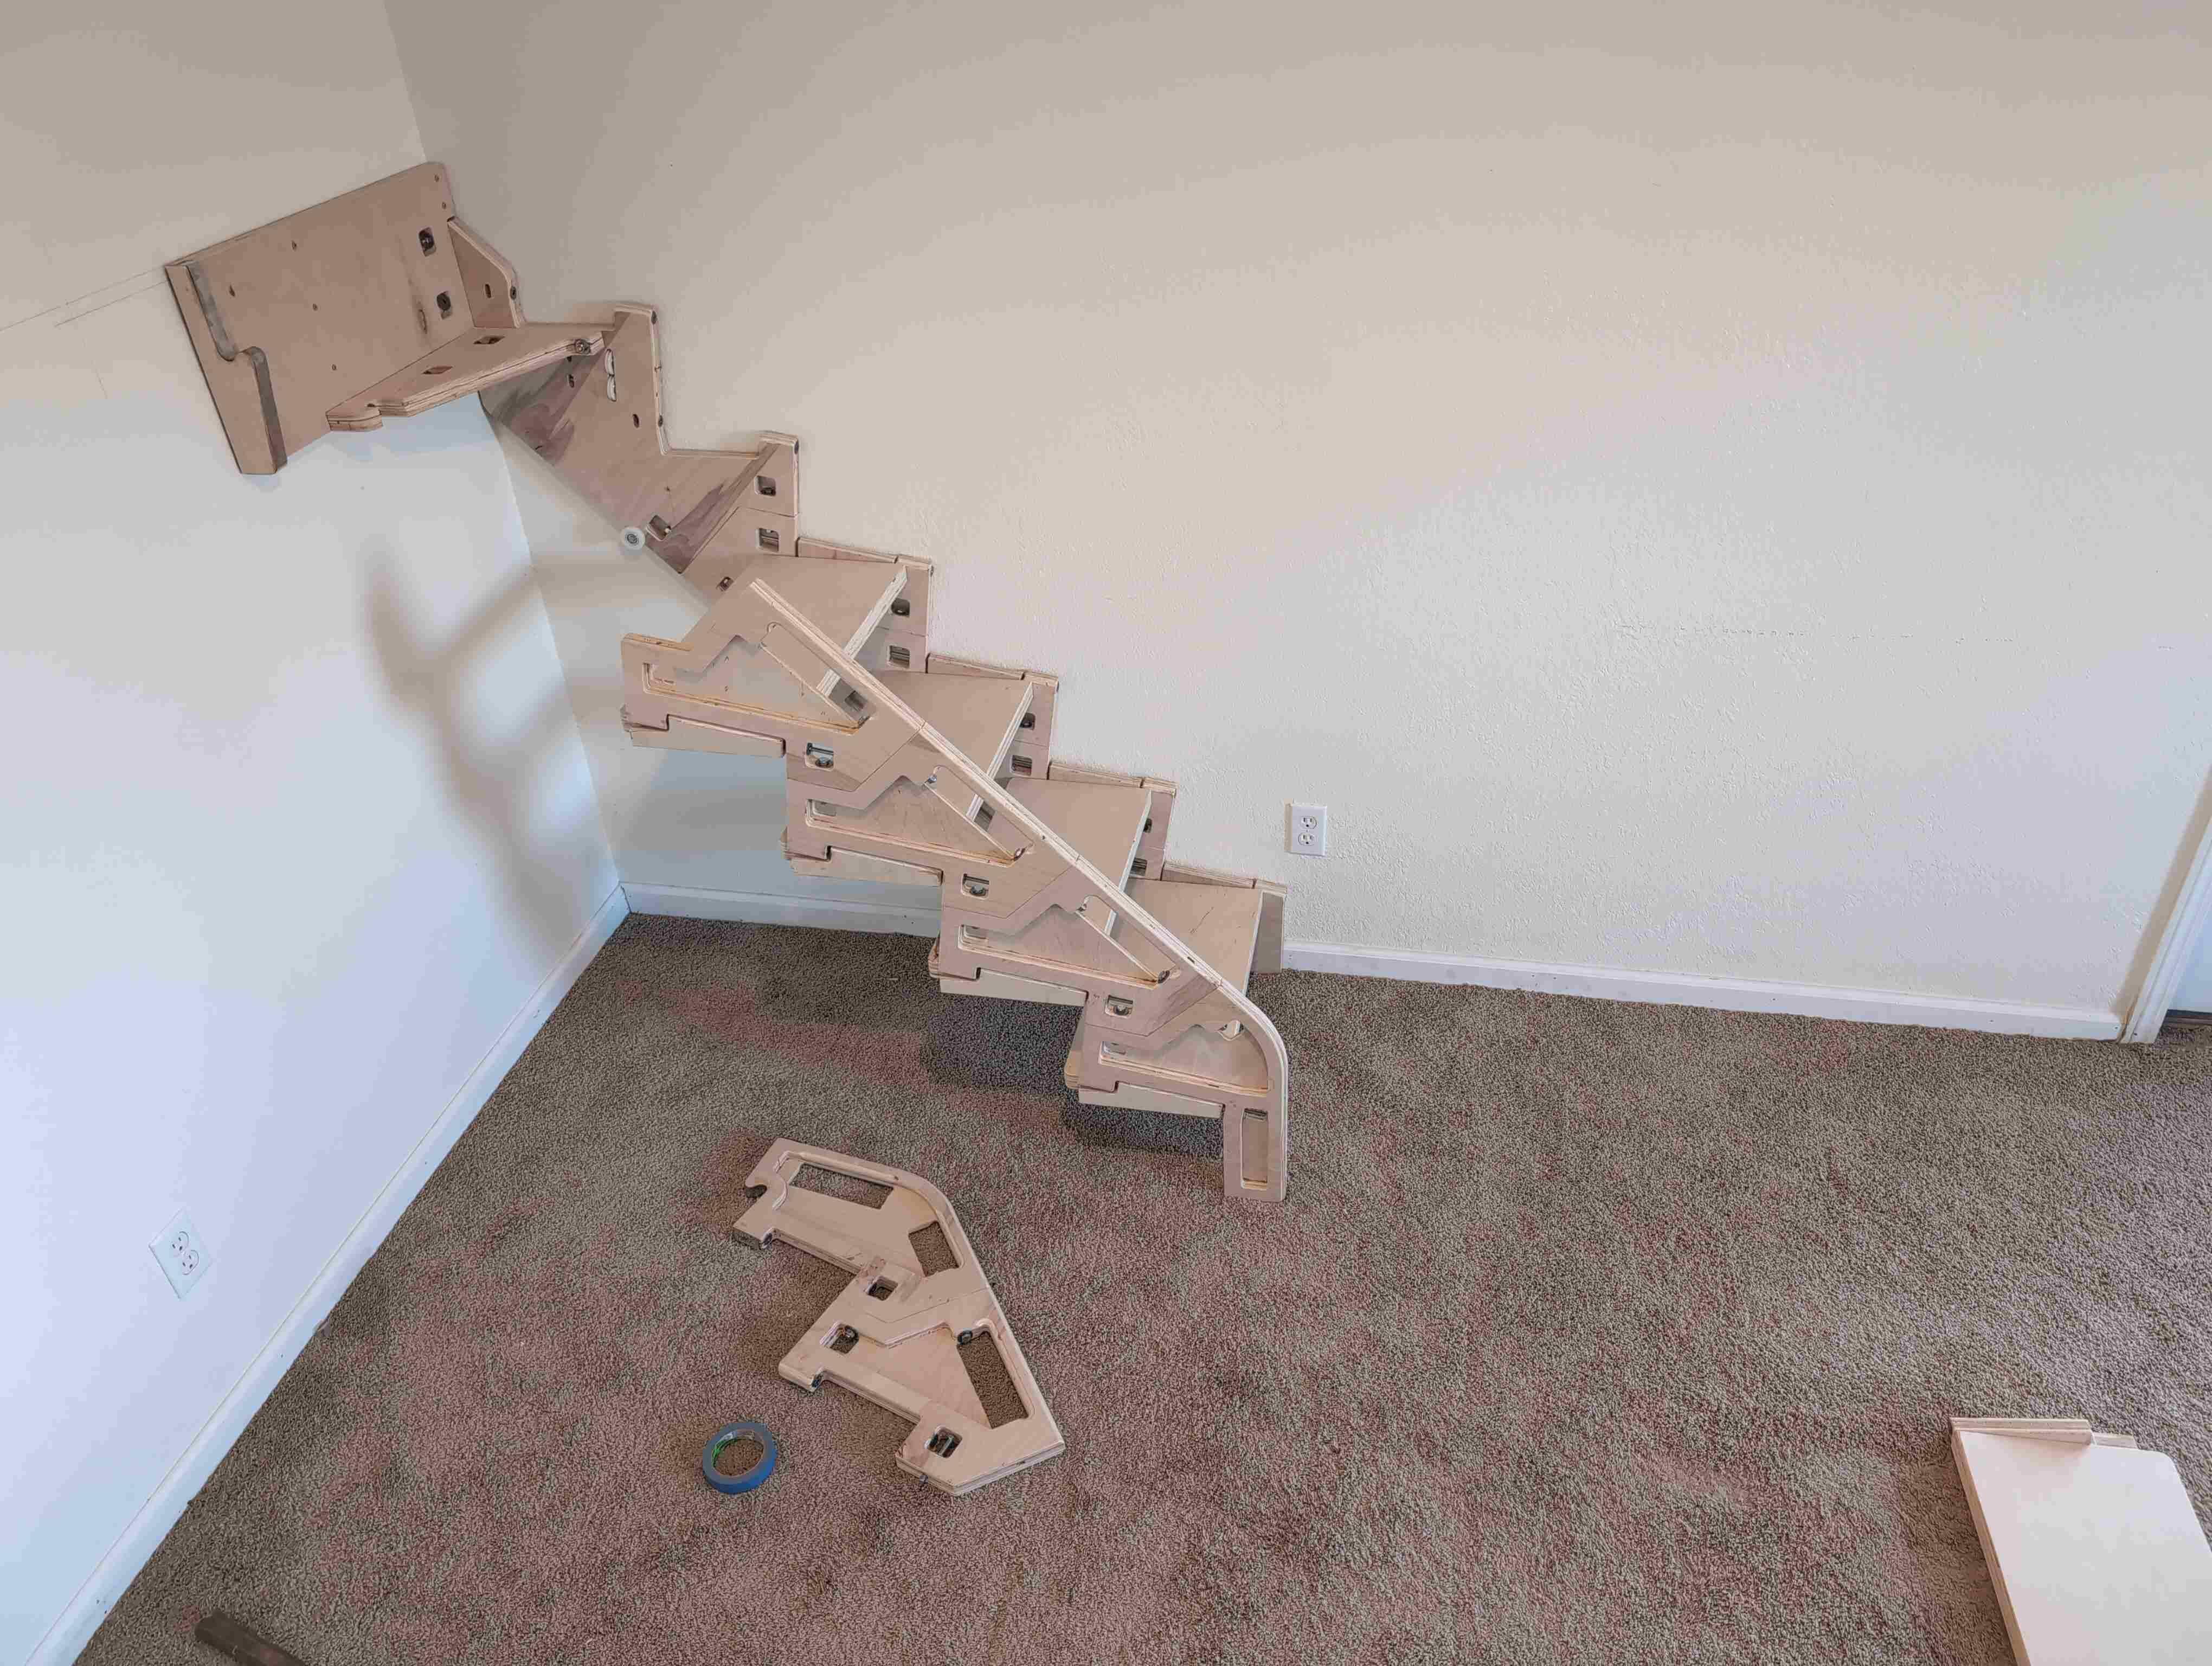
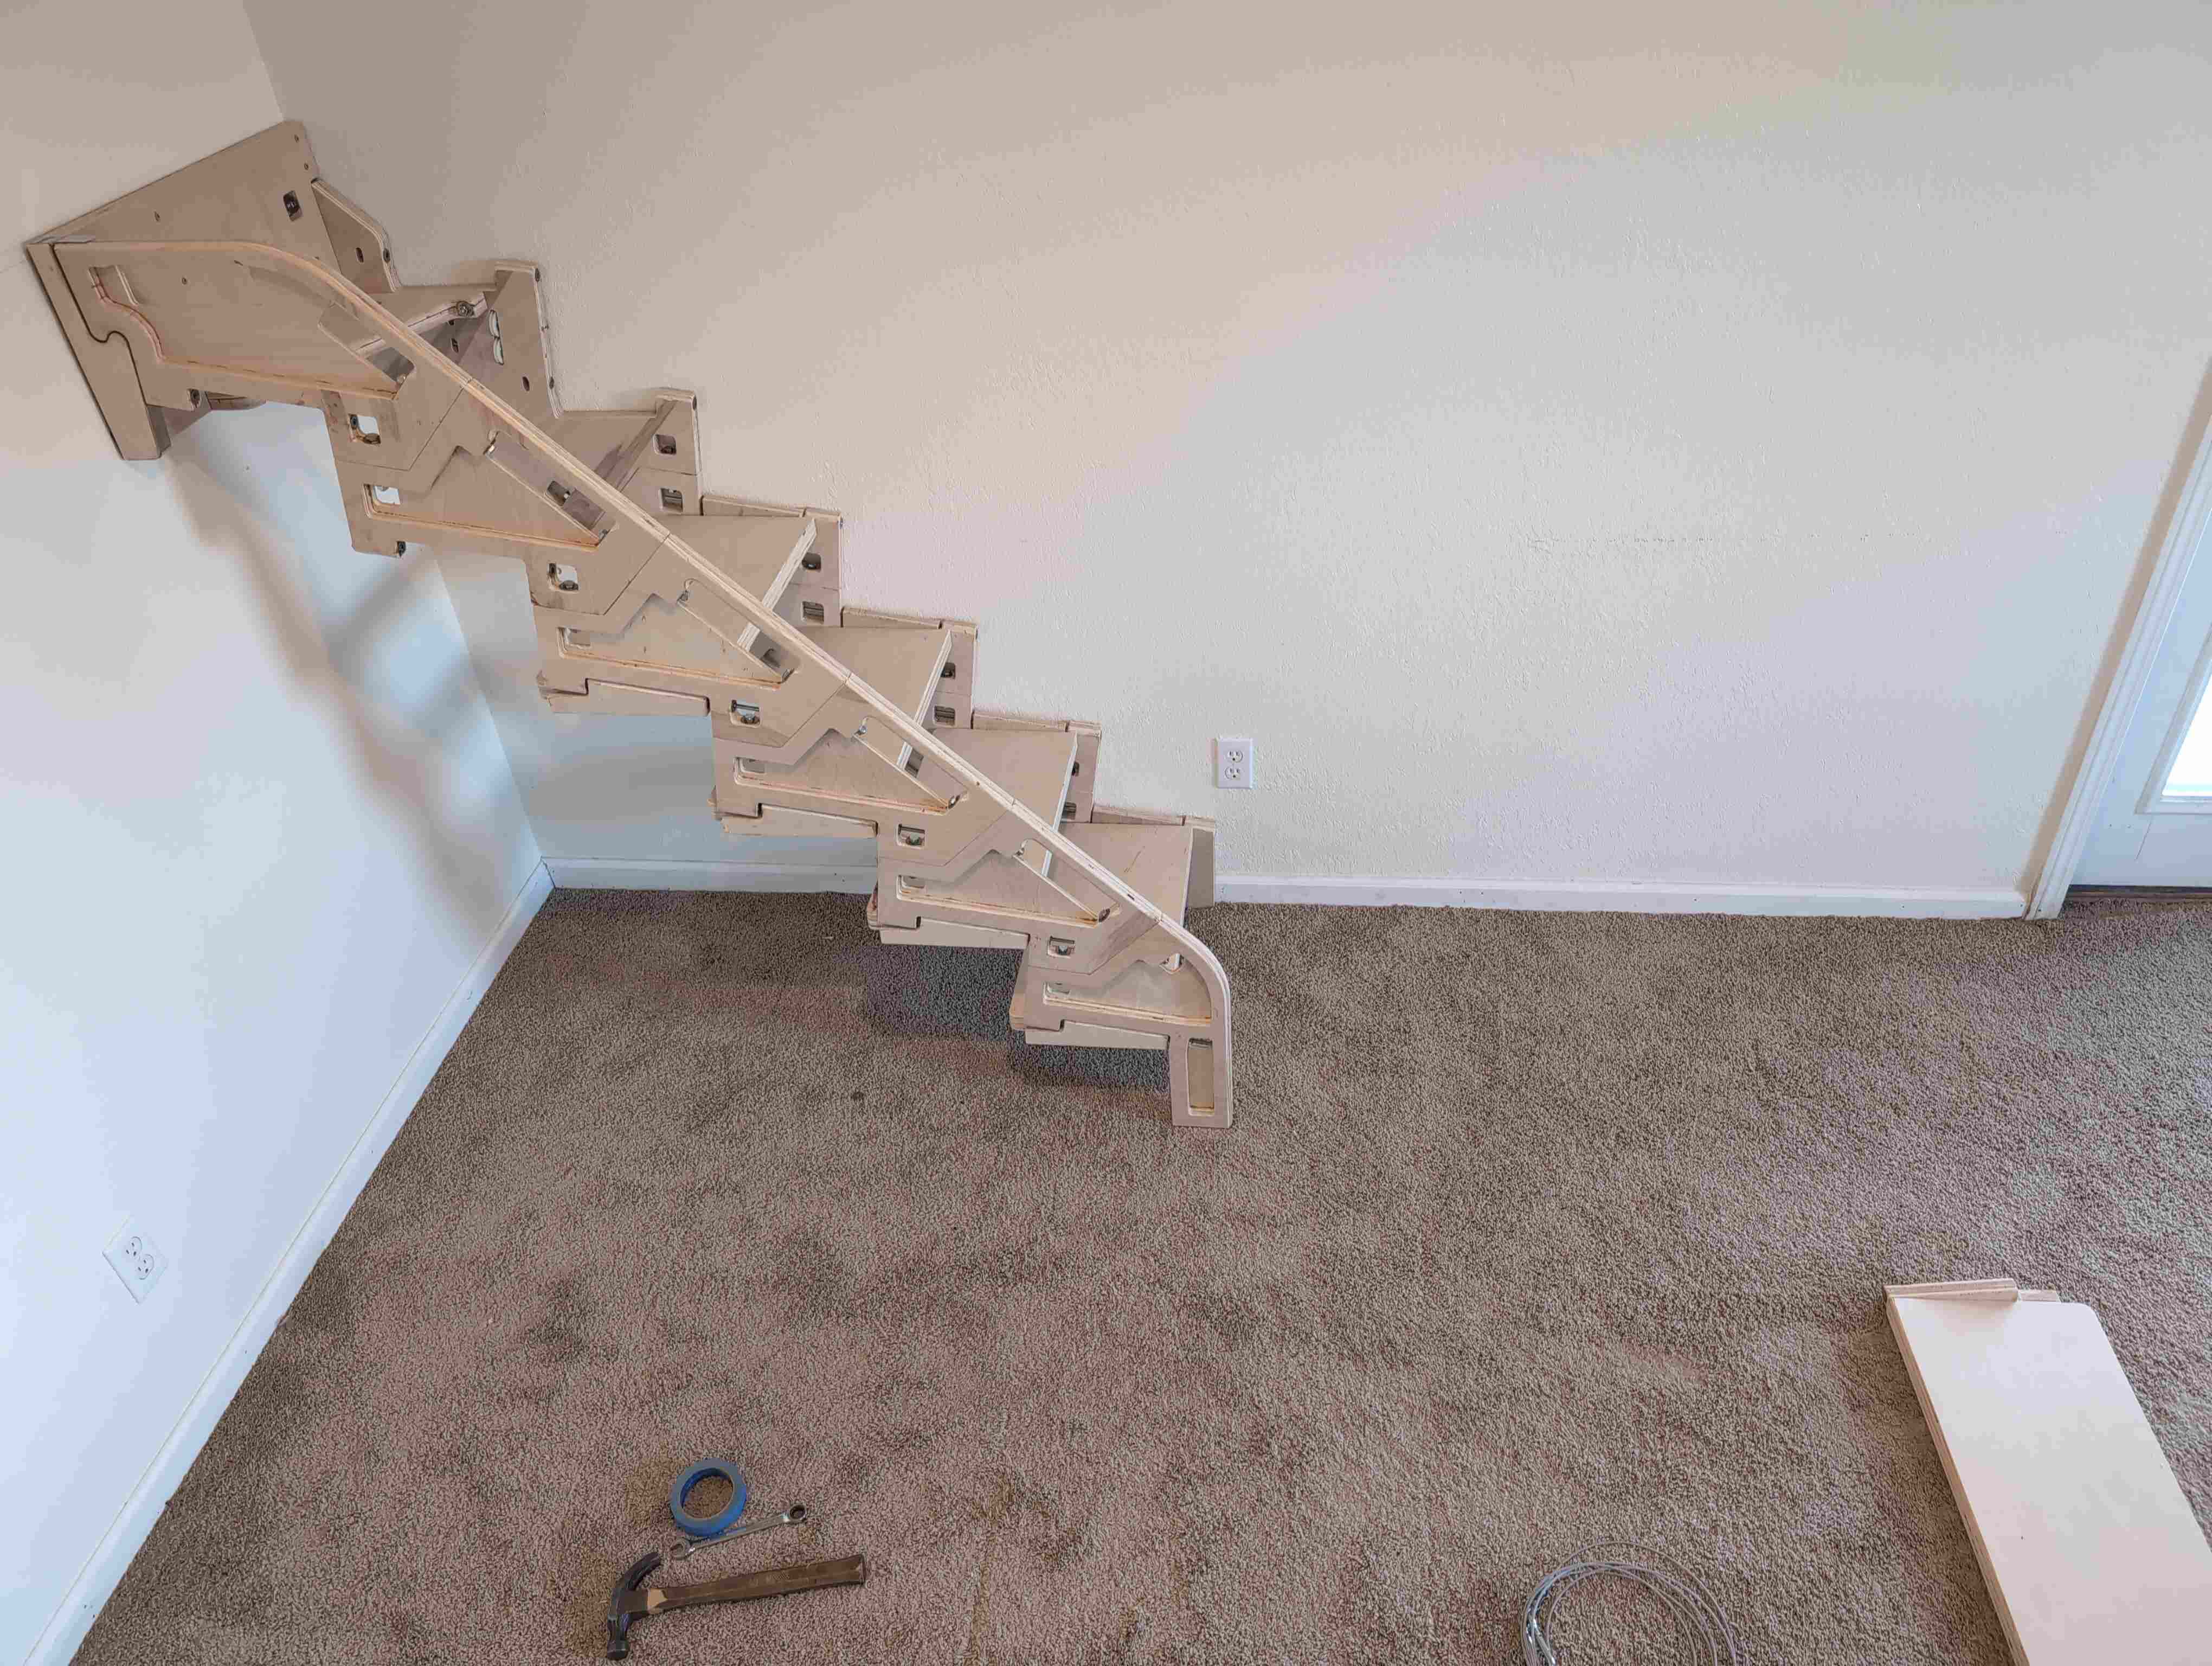
Your unit will be shipped to you in modules which are then assembled. The modules bolt together to form the assembled stair. All fasteners are included. Wrenches or sockets will be needed to tighten the bolts during assembly.
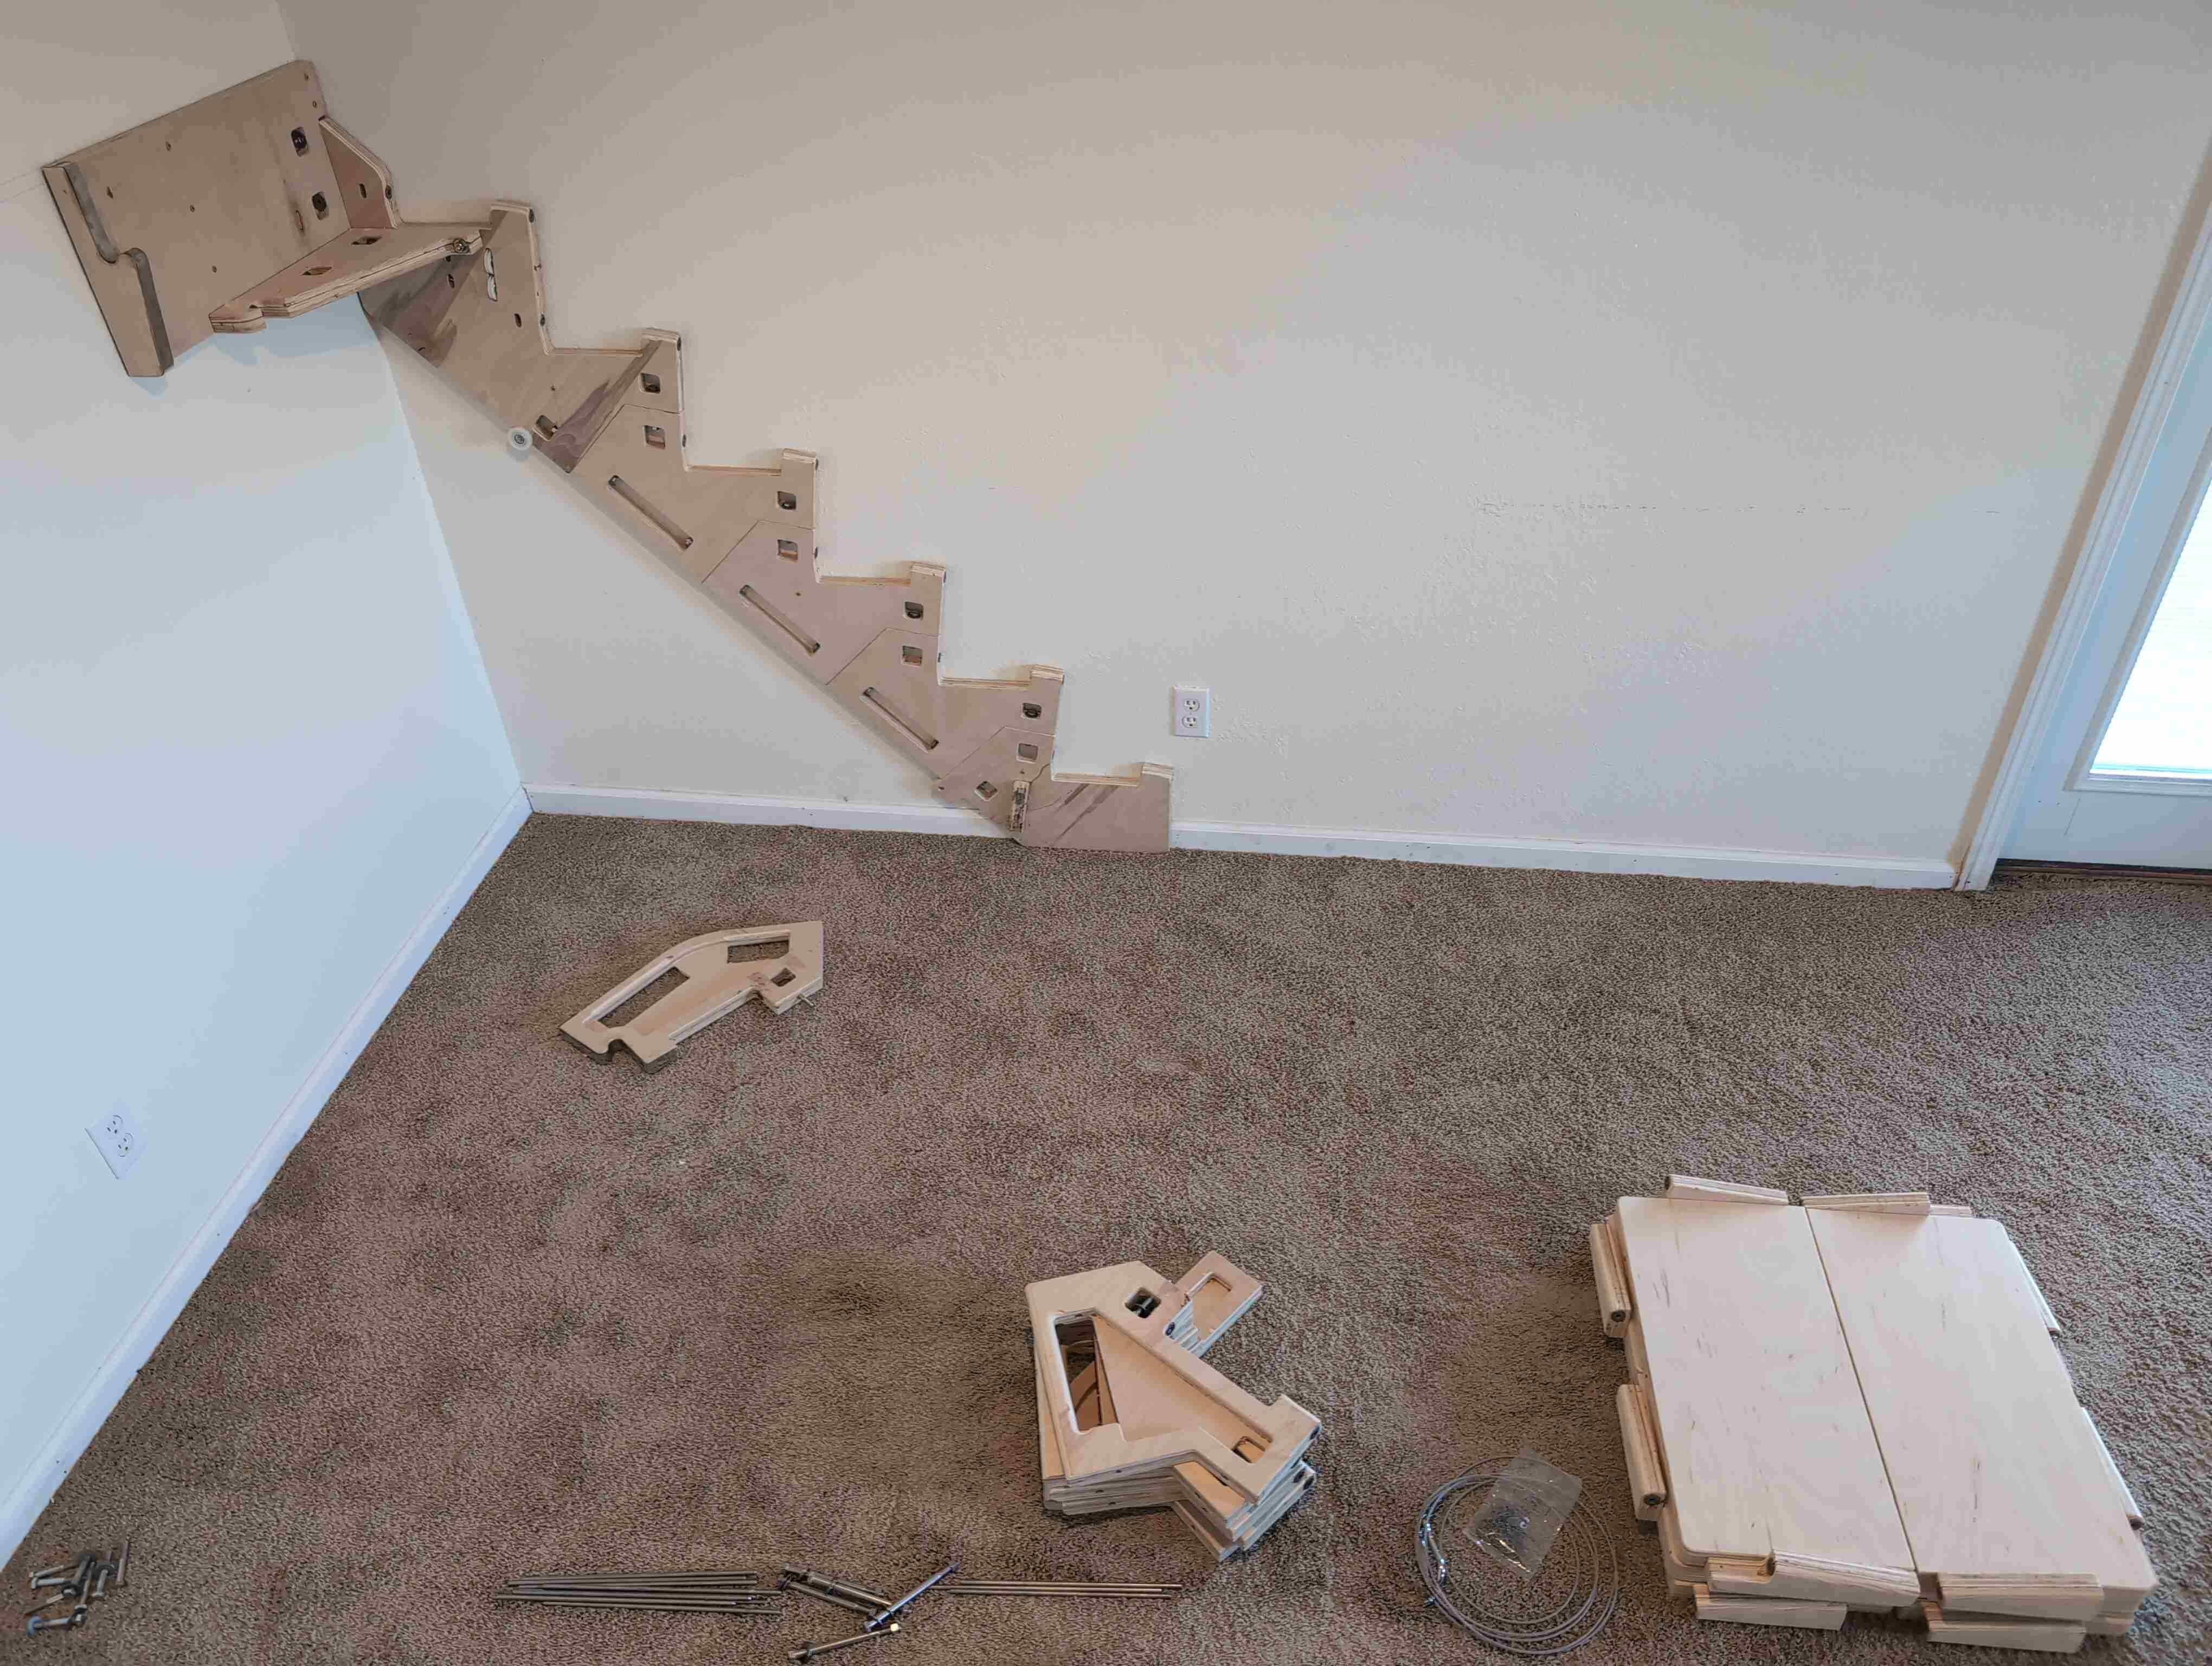
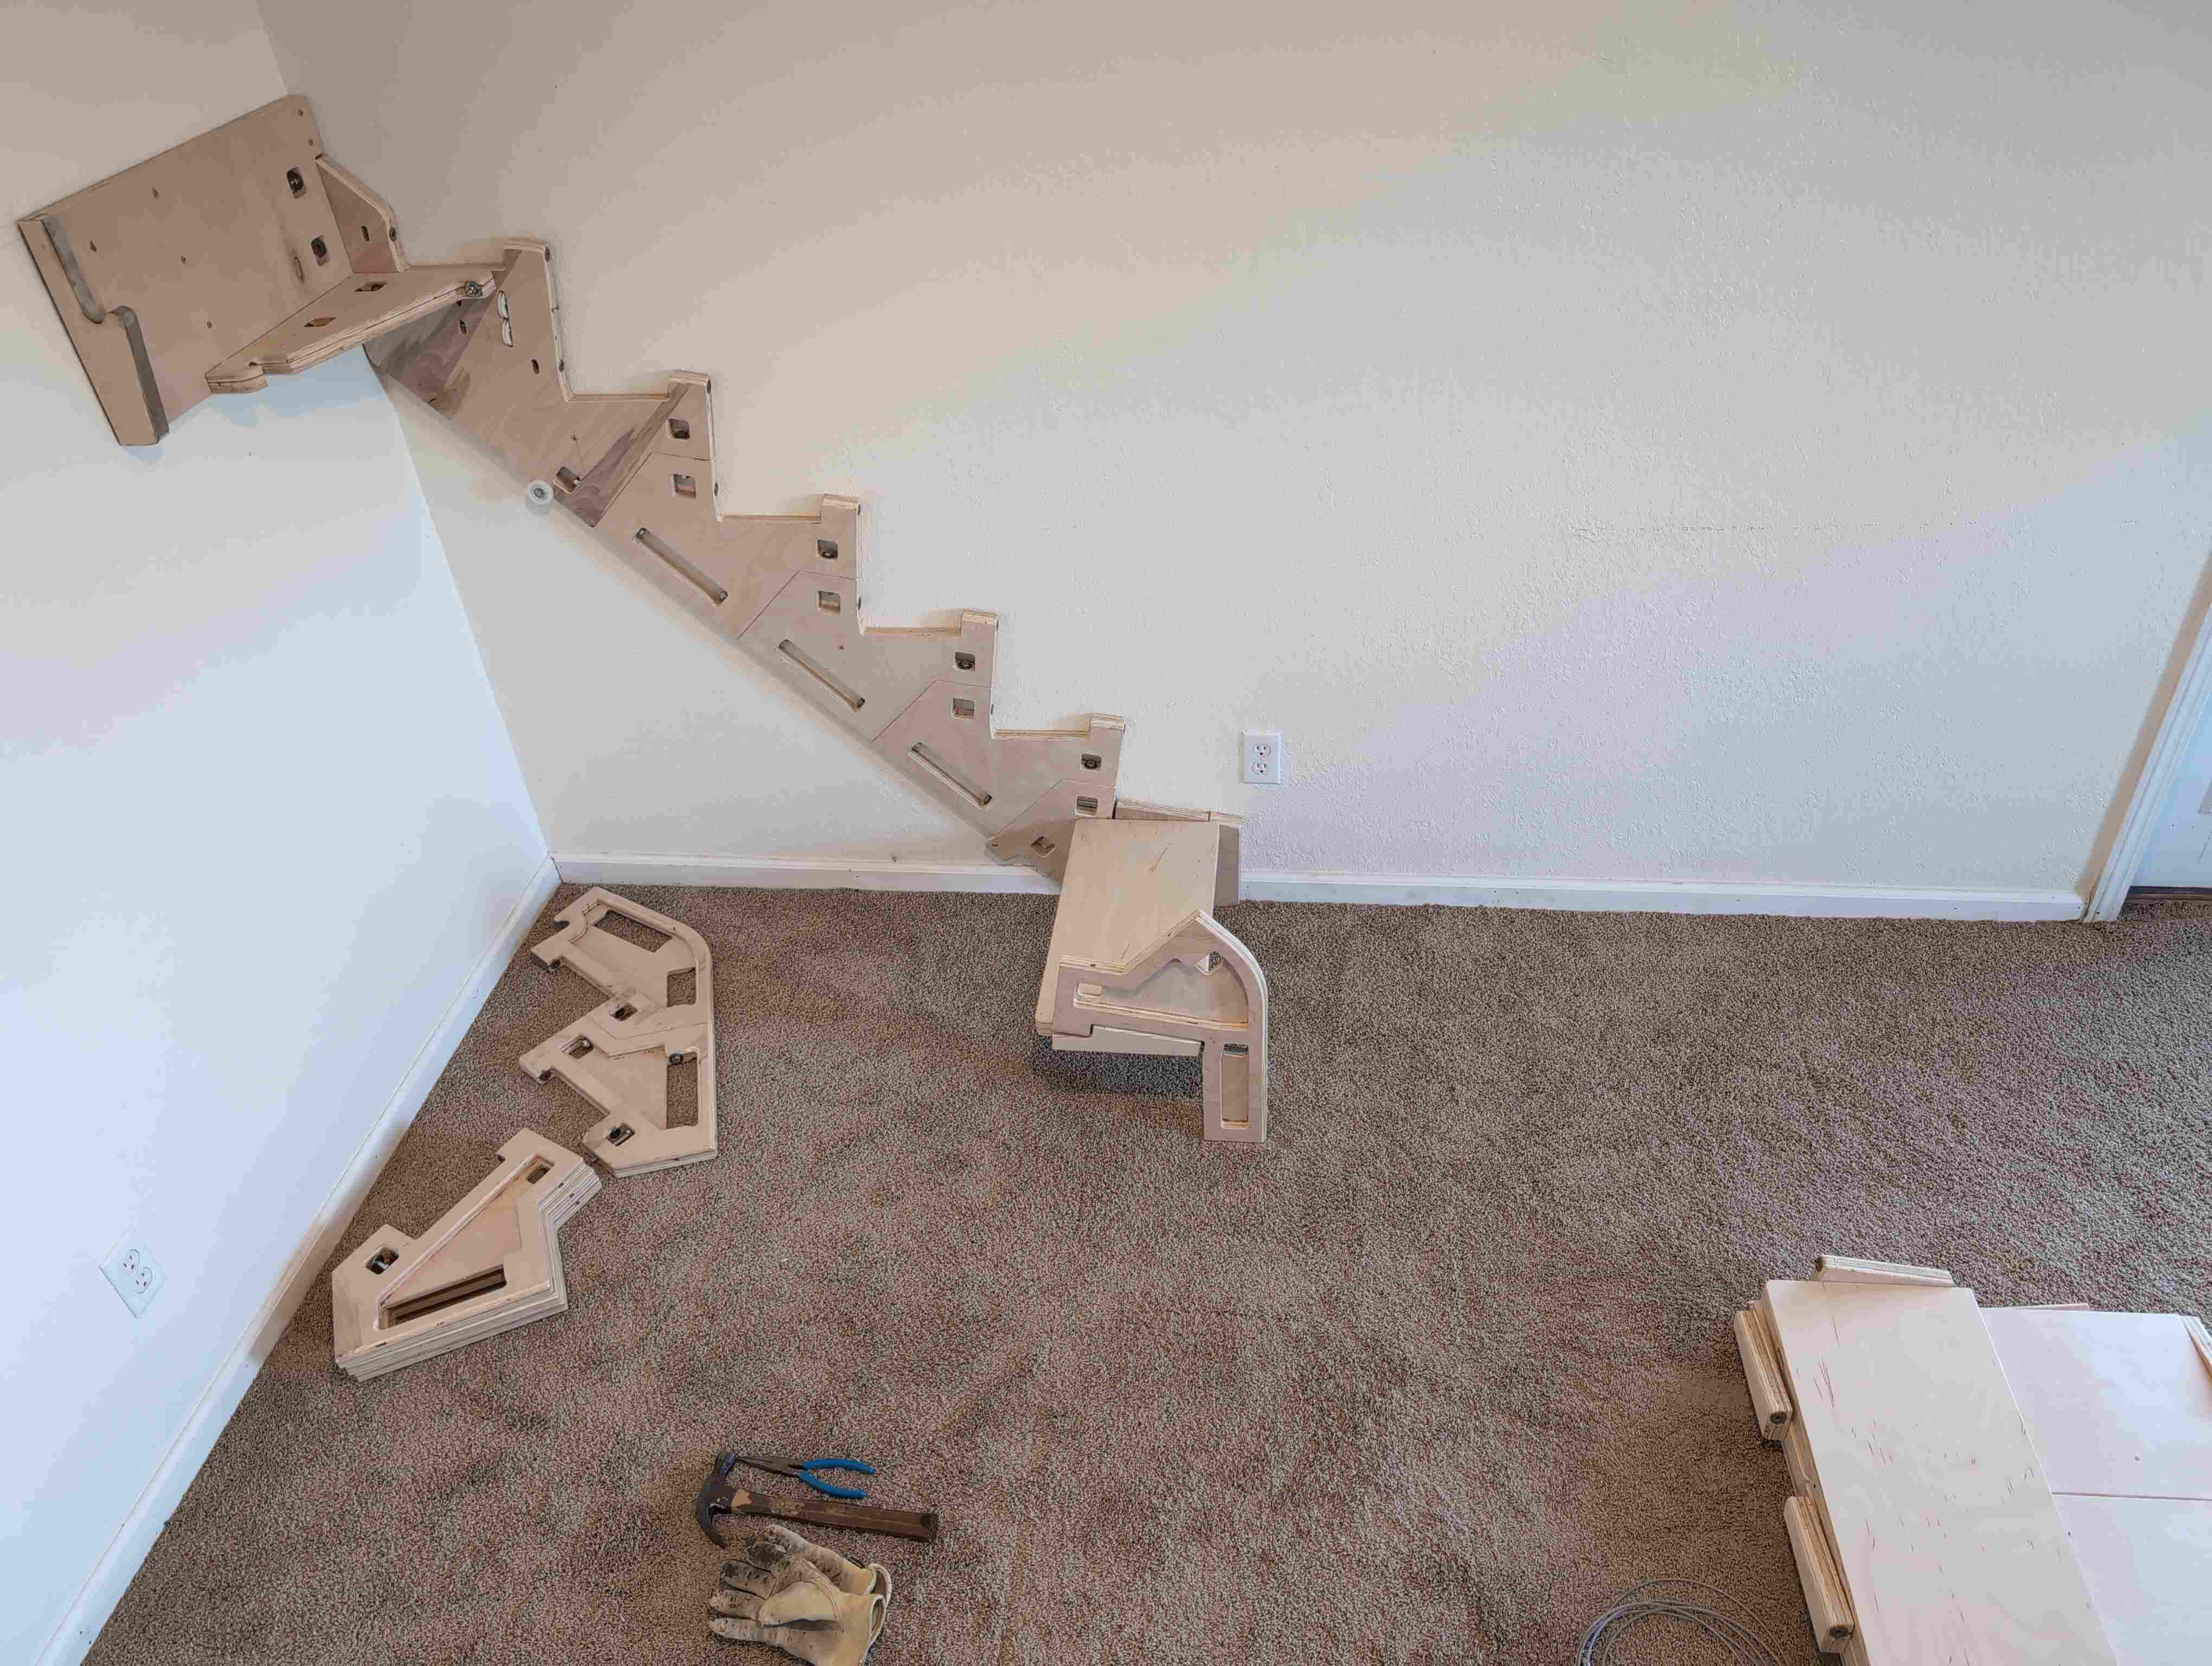
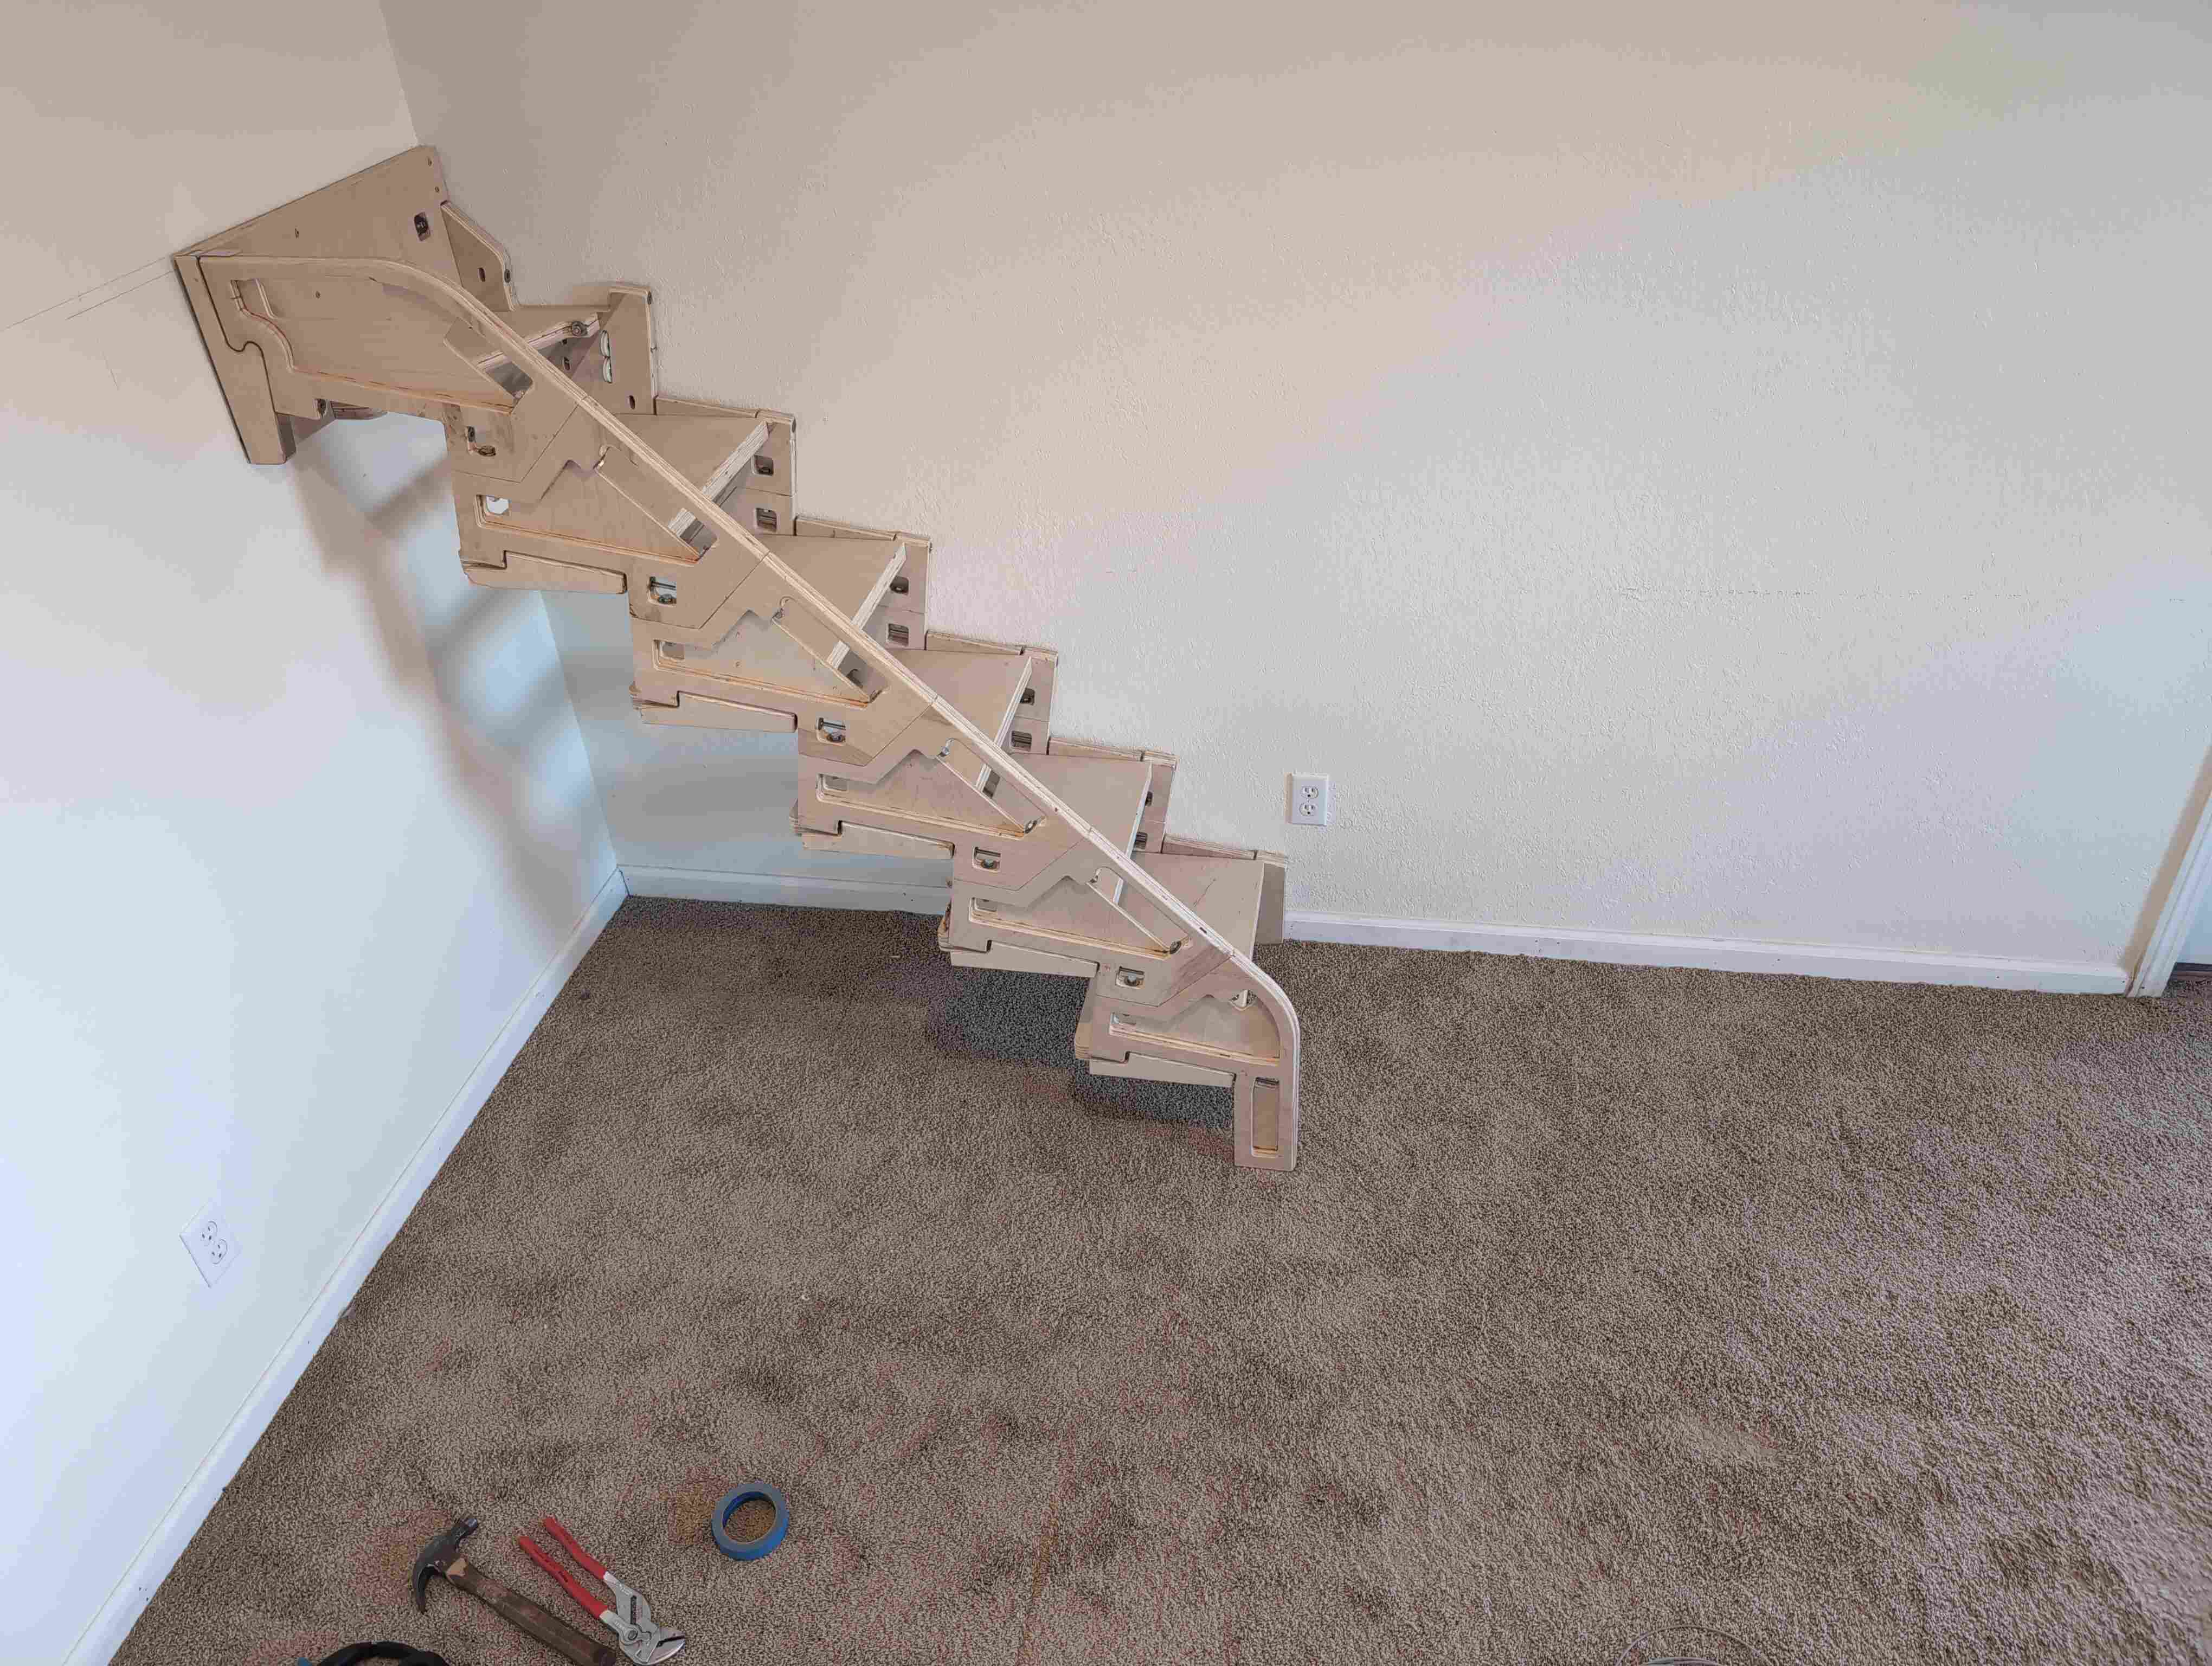
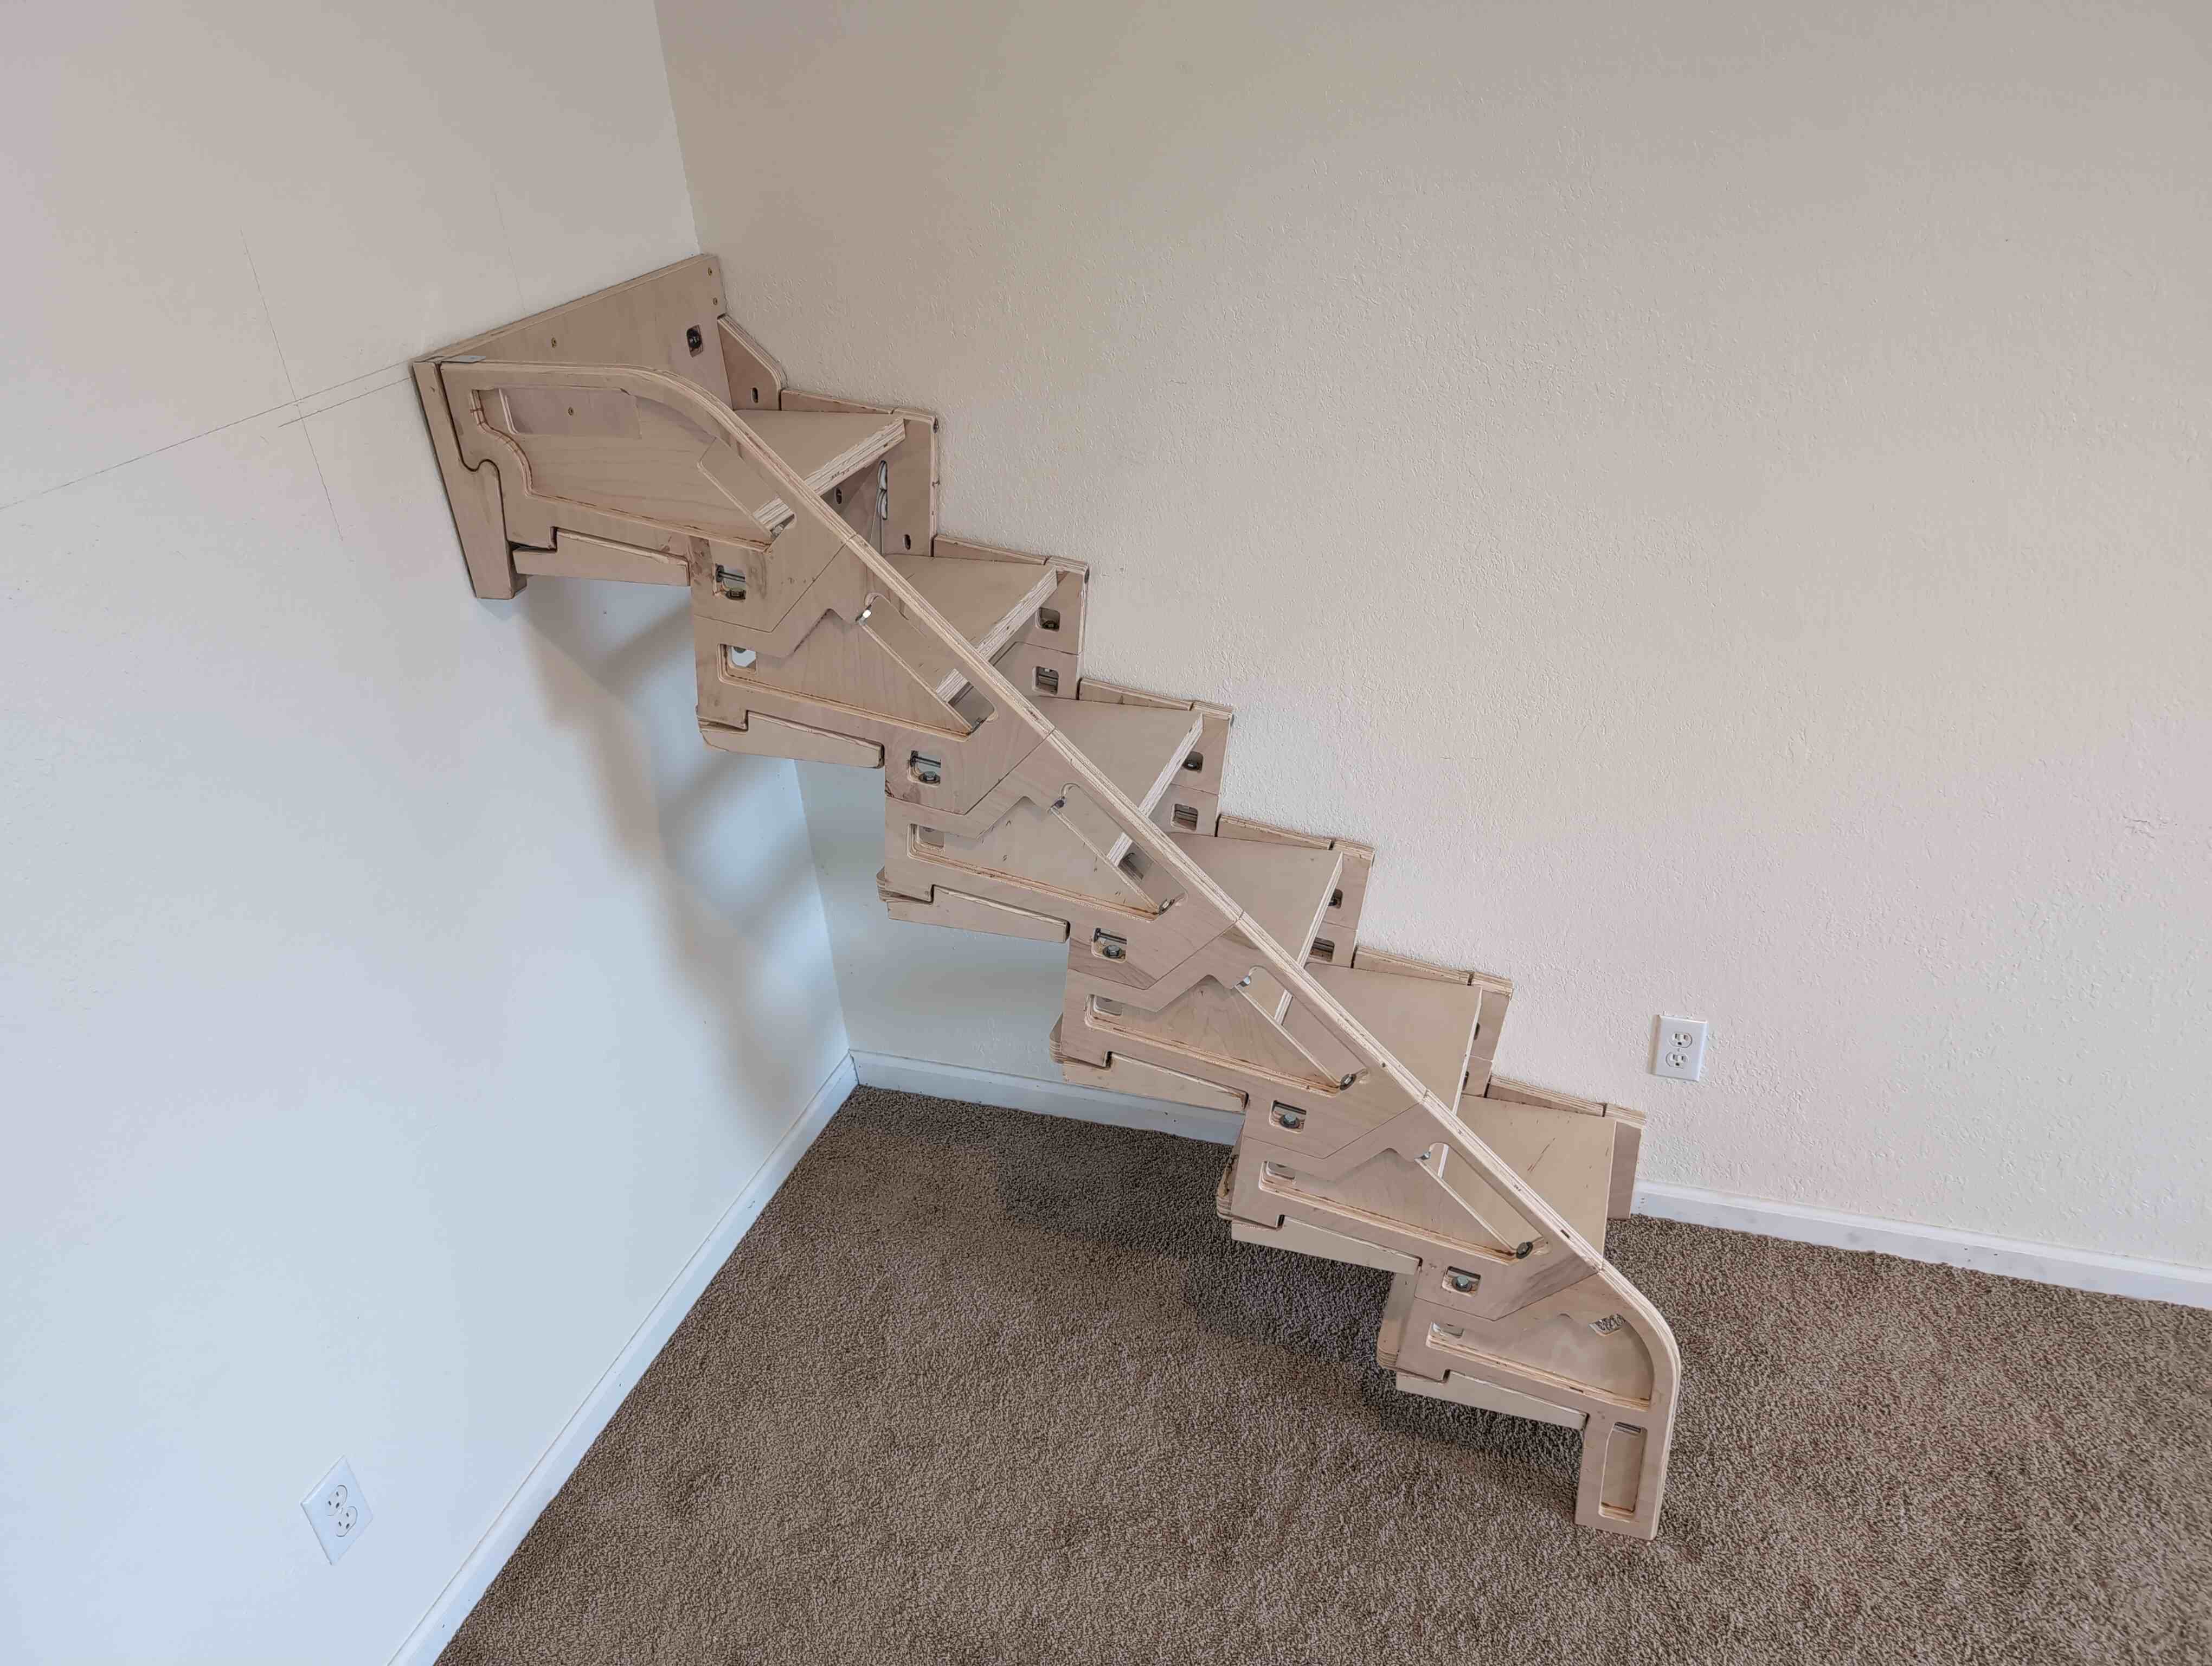
Then, the assembled stair will be installed at its desired location. This will involve fastening the landing plate to the upper landing, and it is recommended to also fasten the stationary stringer to the fixed wall (or similar structure) against which the stair will fold-up to stow. Wood screws (or masonry screws, etc., as fitting) can work to fasten the assembled stair to the top-landing and to the stowage-wall.
If you have any issue with assembly or installation, please contact. We can sort it out together!